CPR Certification for EMT-Track Students: What You Need First
So, you’ve decided to become an Emergency Medical Technician (EMT). That’s a massive first step toward a rewarding career in public safety and healthcare. You’re probably already looking at EMT programs, checking tuition costs, and maybe even eyeing that high-vis gear. But before you can jump on an ambulance for your first clinical rotation, there is one “gatekeeper” certification you absolutely must have in hand: professional-level CPR.
If you are an EMT-track student, you can’t just walk into any weekend CPR class and call it a day. The requirements for medical professionals are specific, and getting the wrong type of certification can stall your education before it even begins.
In this guide, we’ll break down exactly what type of CPR certification you need, why it’s a non-negotiable prerequisite, and how you can get certified today to stay on track for your EMT career.
Why is CPR certification required before starting EMT school?
You might wonder why you need to be CPR certified before you even start learning how to be an EMT. Isn’t that what the school is for? While EMT programs do teach life-saving skills, they operate on the assumption that you already possess a baseline of professional resuscitation knowledge.
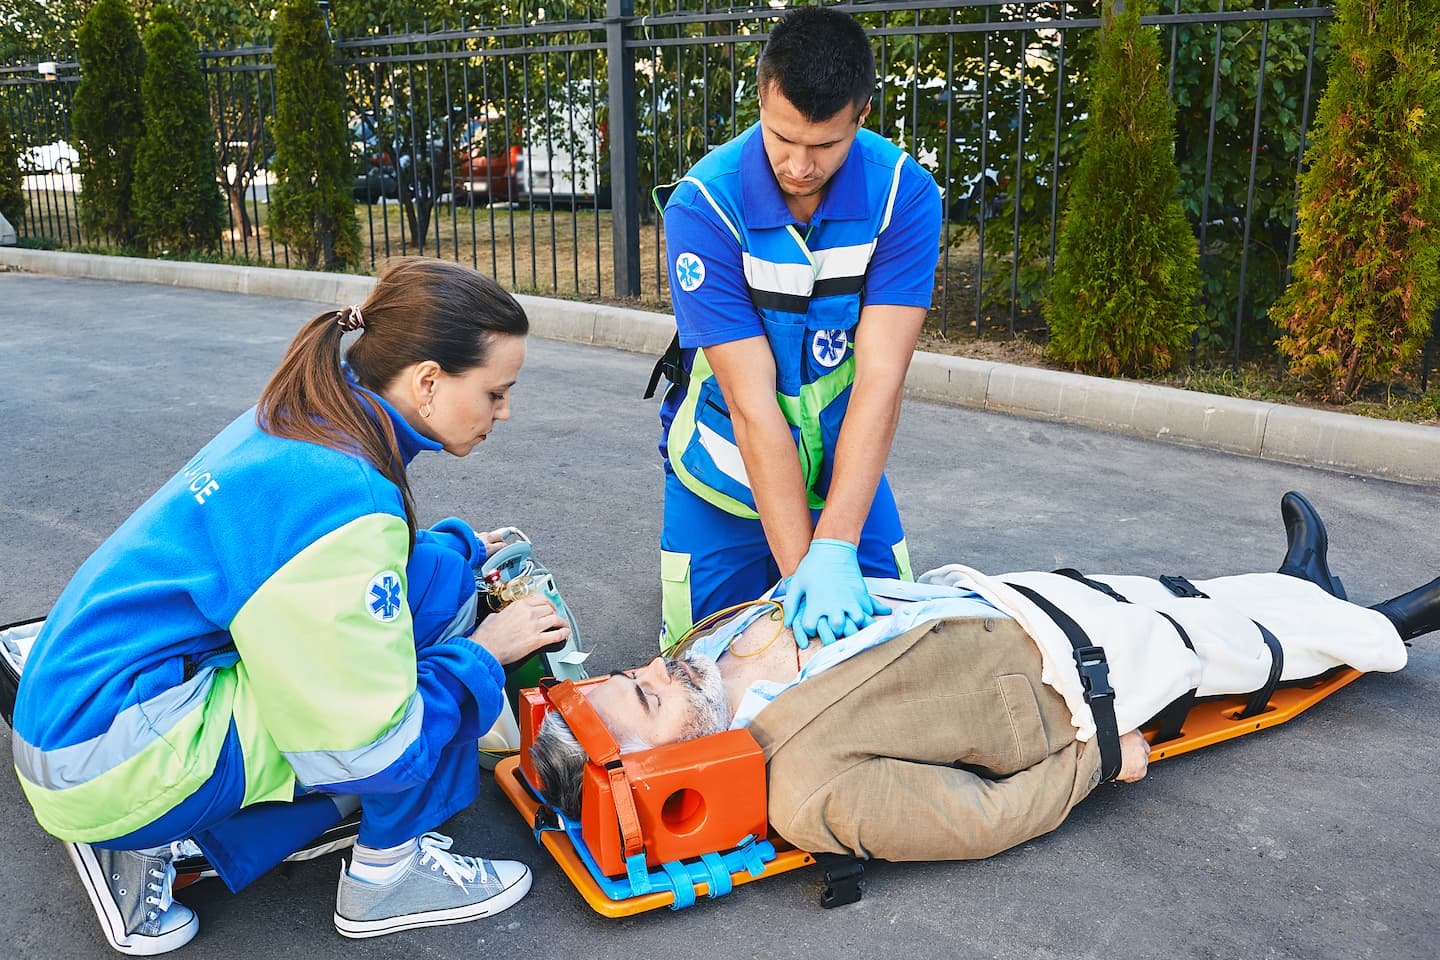
- Safety and Liability: EMT students participate in clinical “ride-alongs.” During these shifts, you are part of a working medical team. If a patient goes into cardiac arrest, you must be legally qualified to assist immediately.
- Program Prerequisites: Most accredited EMT programs require proof of a valid healthcare-level CPR card as part of the application packet. Without it, your application is often considered incomplete.
- National Standards: The National Registry of Emergency Medical Technicians (NREMT) requires all candidates to have a current, professional-level CPR credential to be eligible for the national exam.
What is the difference between standard CPR and BLS for healthcare providers?
This is where many students get tripped up. There are “Heartsaver” or “Layperson” CPR classes, and then there is “Basic Life Support” (BLS). If you are on the EMT track, you must take the BLS version.
Standard CPR (Layperson):
- Designed for teachers, coaches, and office workers.
- Focuses on single-rescuer response.
- Covers basic chest compressions and breaths.
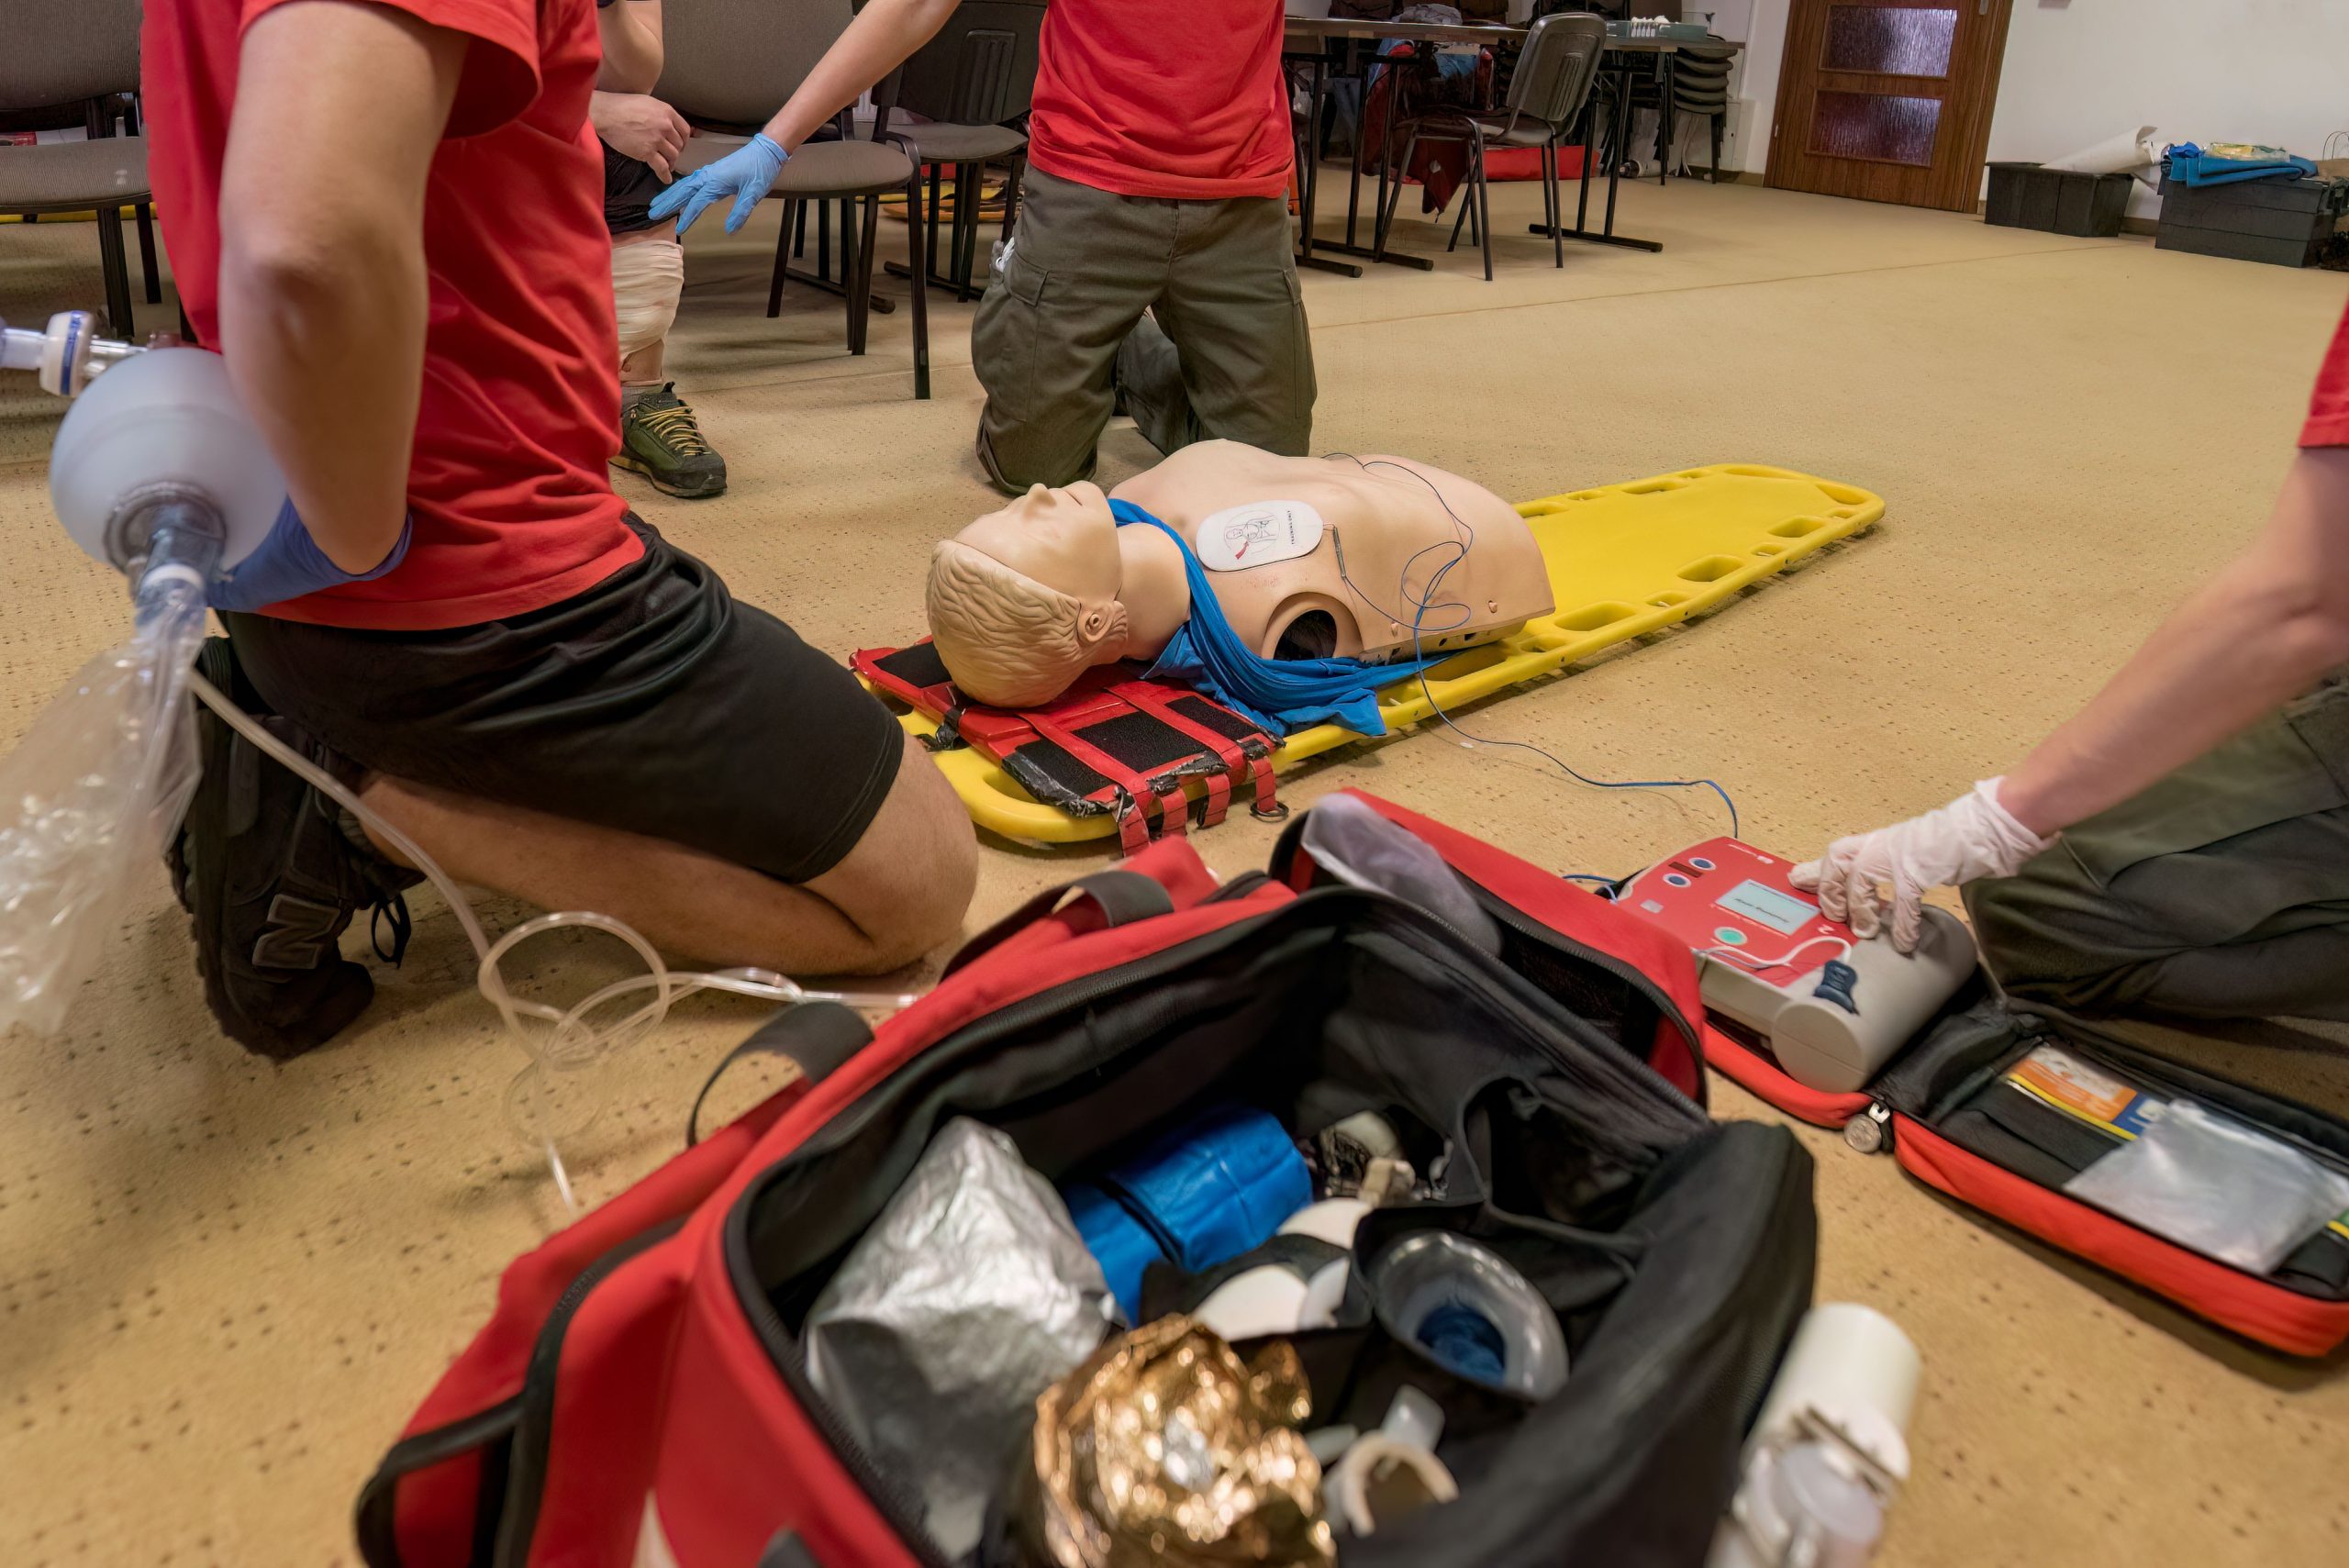
BLS (Basic Life Support):
- Designed specifically for healthcare professionals and first responders.
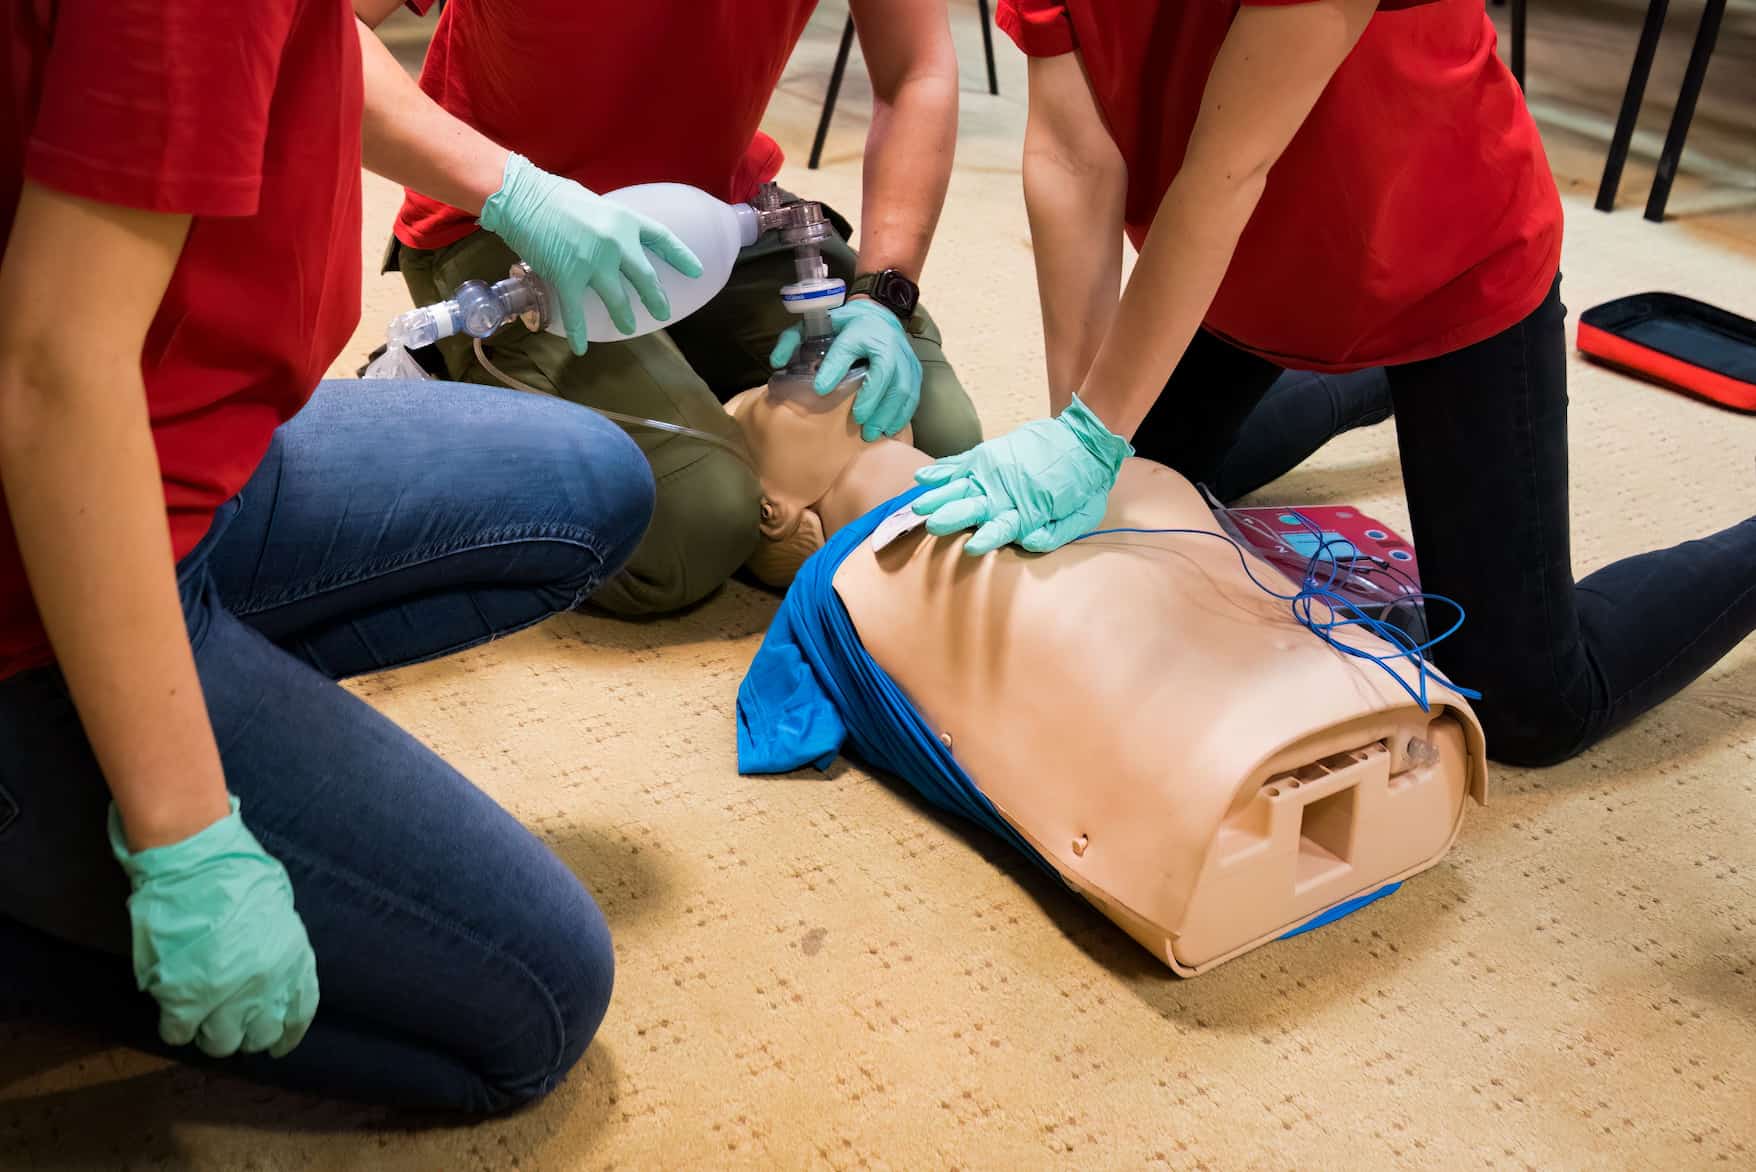
- Includes two-rescuer CPR techniques.
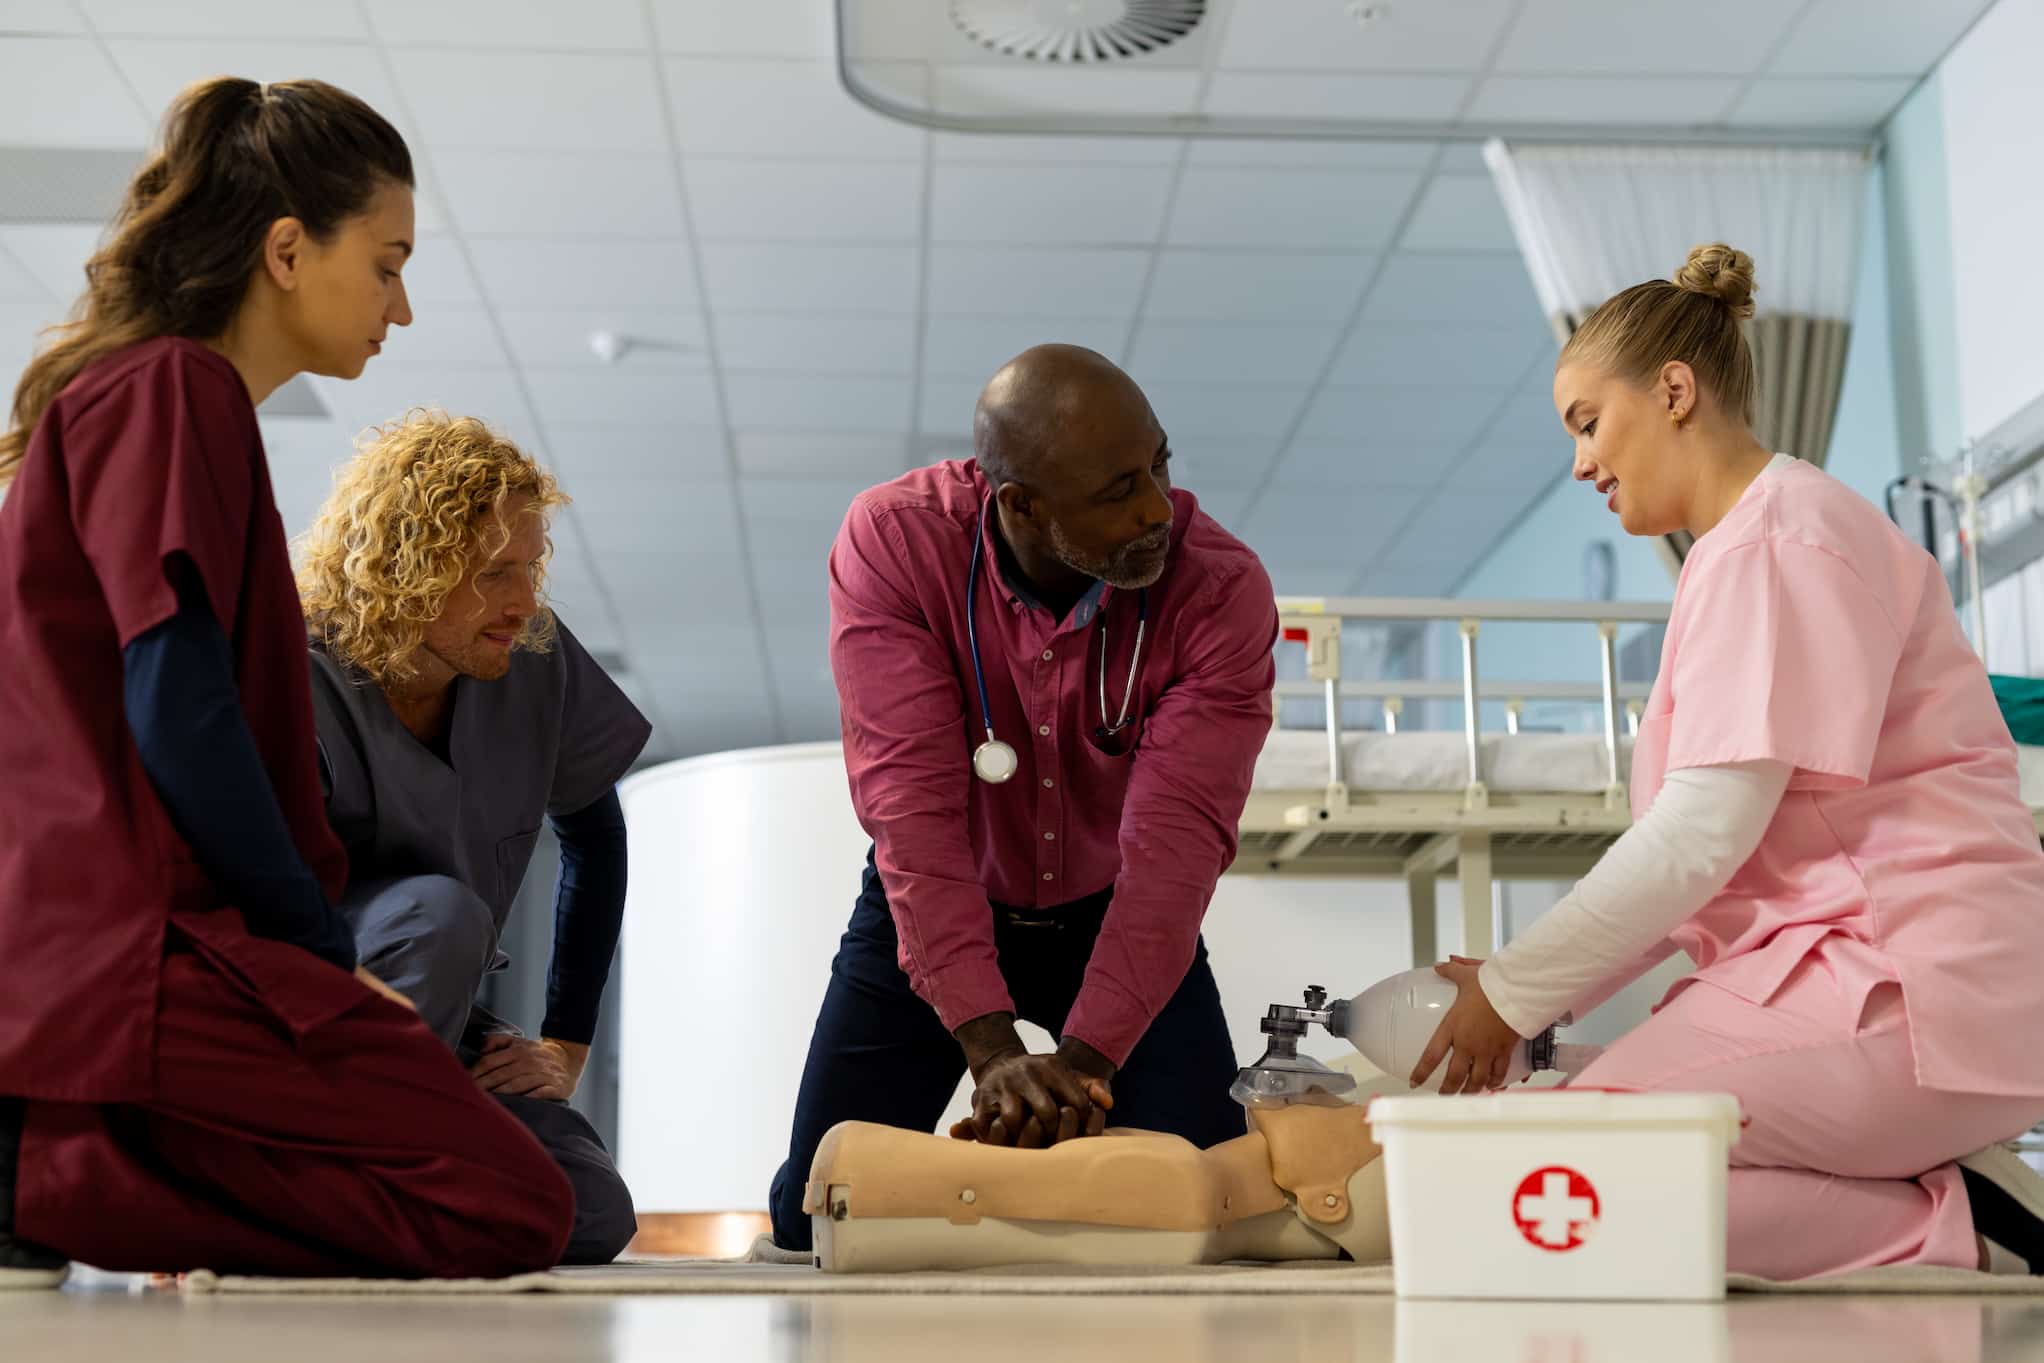
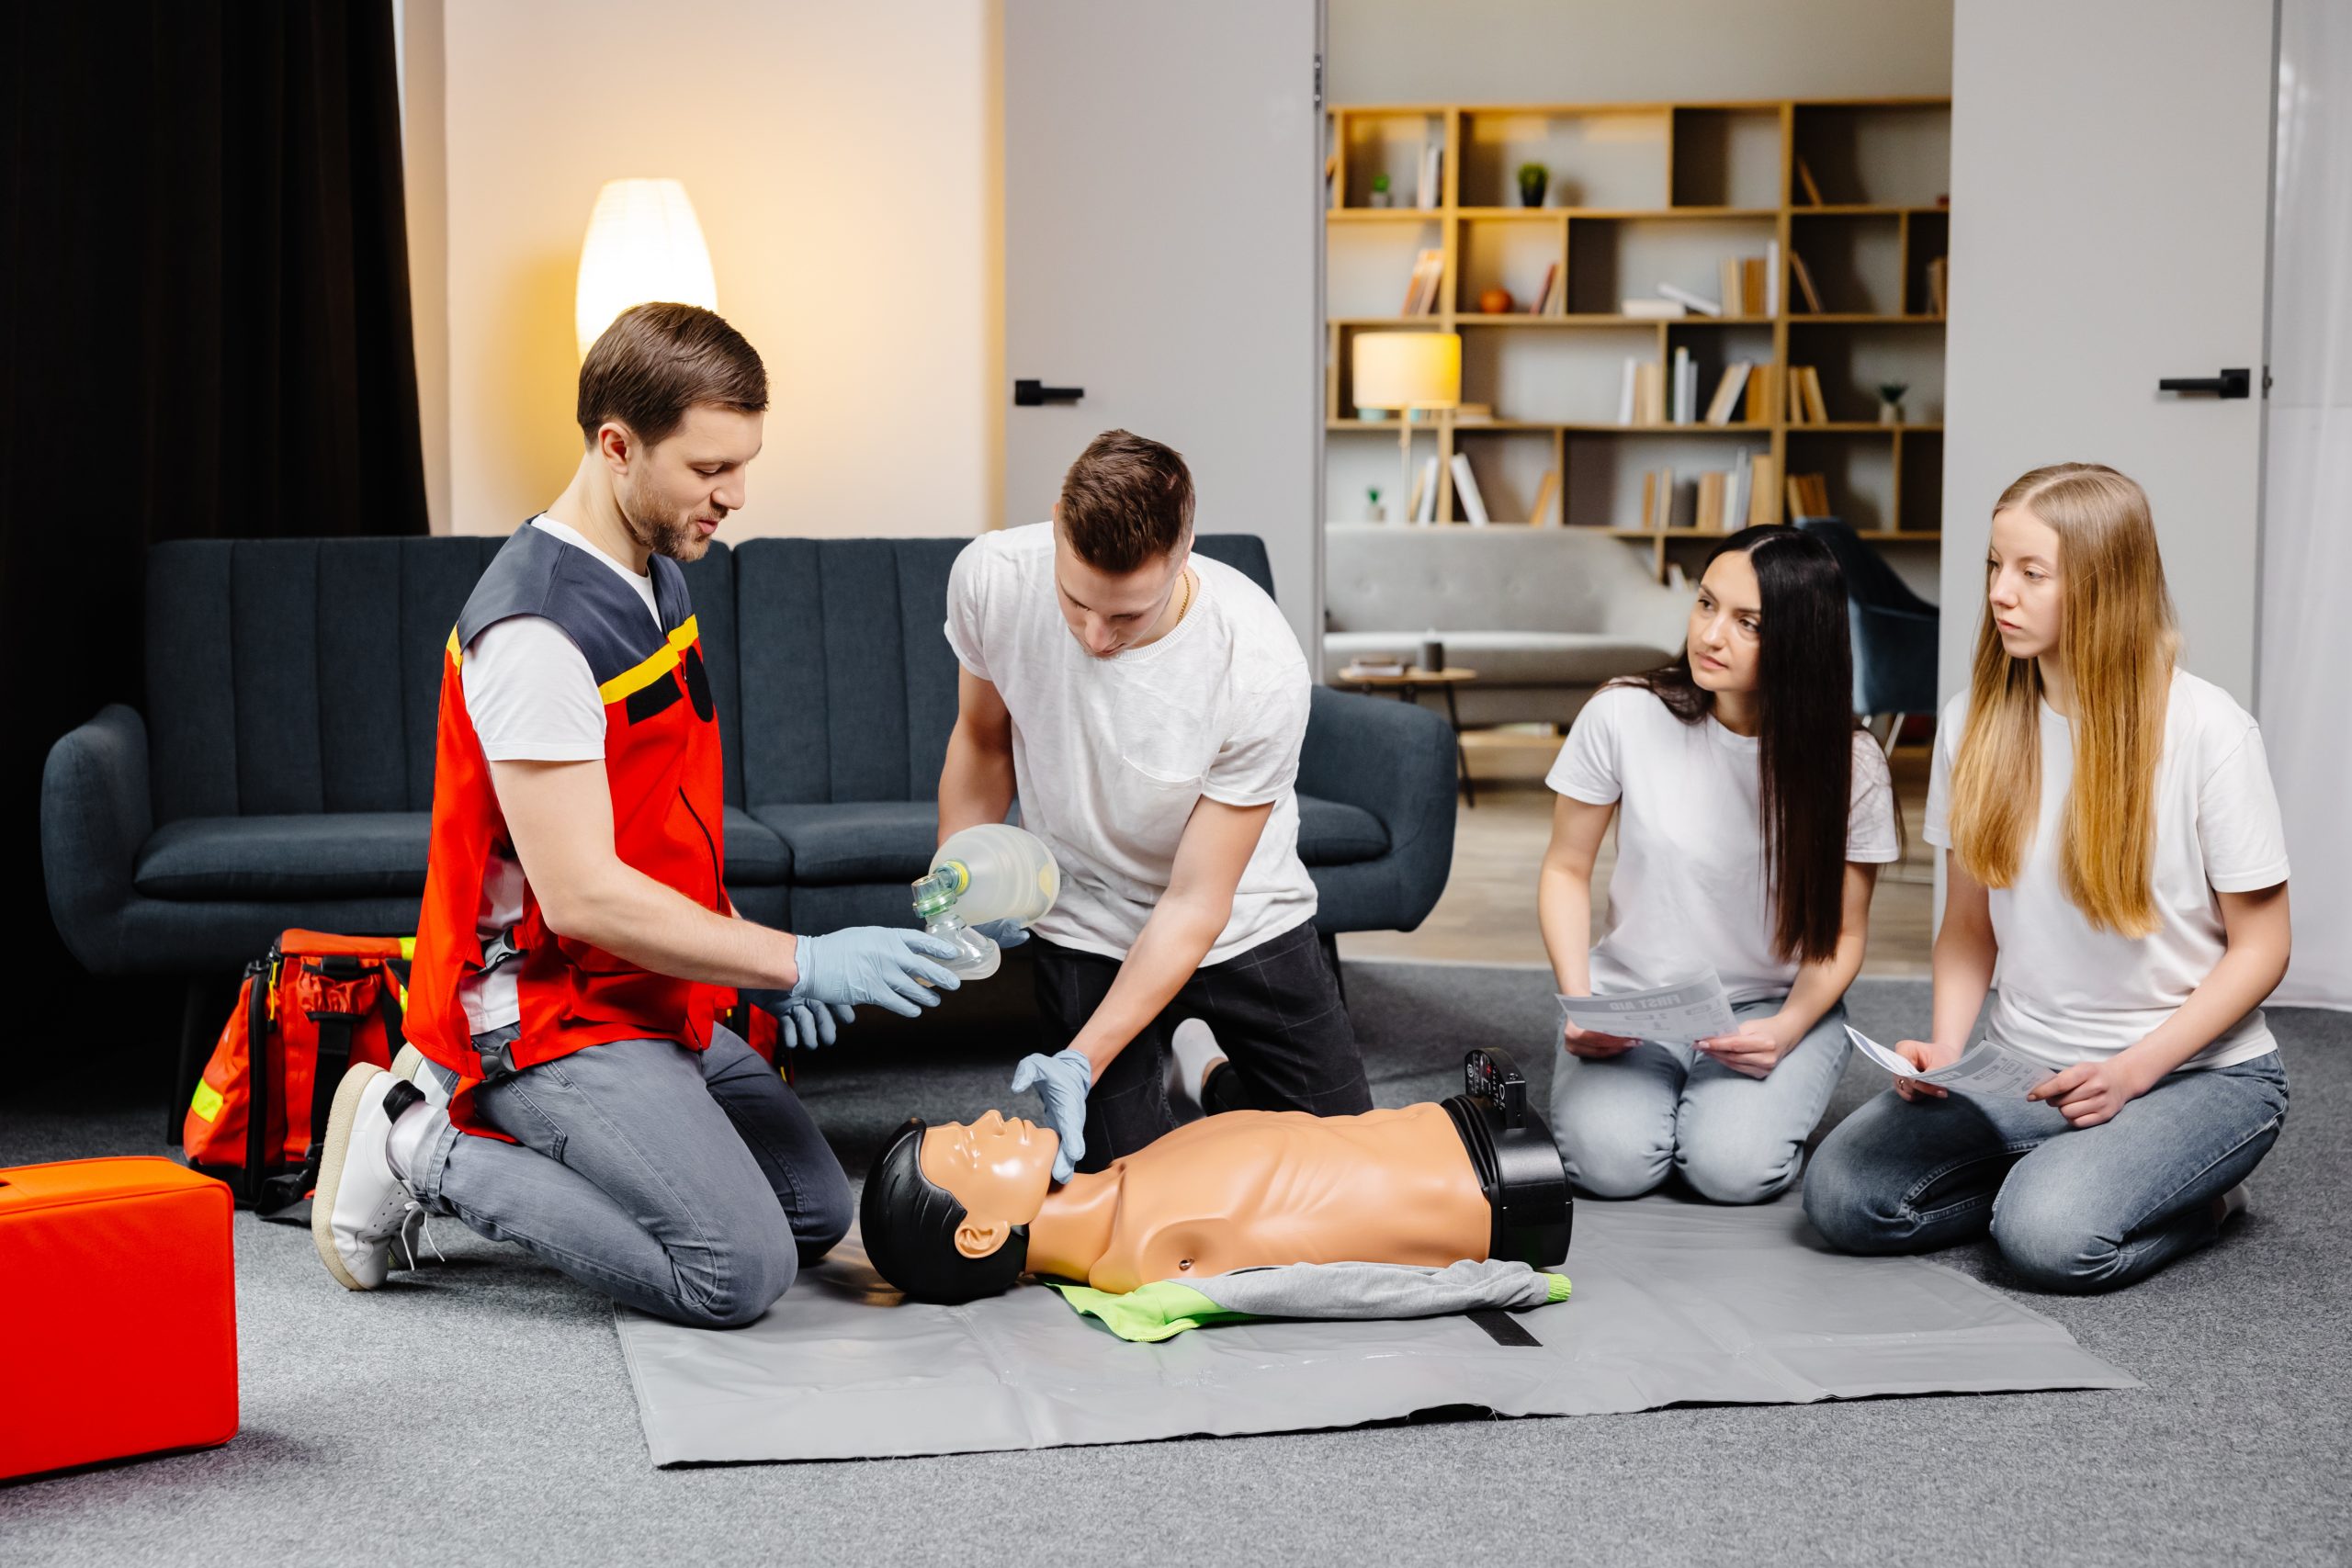
- Covers the use of a Bag-Valve-Mask (BVM), which is a standard piece of equipment on every ambulance.
- Includes advanced AED protocols and team dynamics.
- Covers adult, child, and infant resuscitation.
When you sign up for a class at CPR Classes Near Me, make sure you select the BLS for Healthcare Providers option. This ensures your card will be accepted by your EMT program and the NREMT.
Can I take my CPR certification course entirely online?
In short: No. While the internet is great for learning theory, you cannot learn the physical “muscle memory” of high-quality chest compressions through a computer screen.
- Hands-on Skills are Mandatory: To earn a certification that is valid for EMT school, you must perform a skills check-off in front of a certified instructor.
- Hybrid Options: Many students prefer “Blended Learning.” This allows you to complete the lecture and video portions online at your own pace, then visit a local facility for a 1-hour in-person skills session.
- Employer Acceptance: Almost no ambulance service or hospital will accept an “online-only” CPR card that does not include an in-person skills verification.
What specific topics are covered in an EMT-level CPR class?
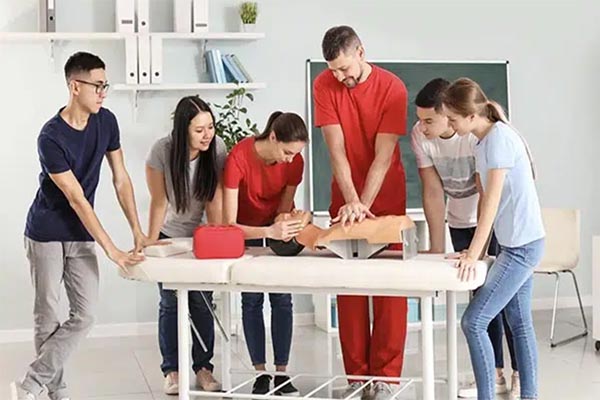
A BLS course is more rigorous than a standard class because the stakes are higher for first responders. During your training at CPR Classes Near Me, you will master several critical skills:
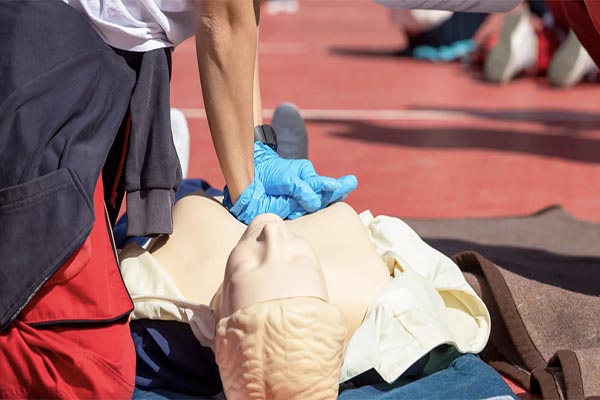
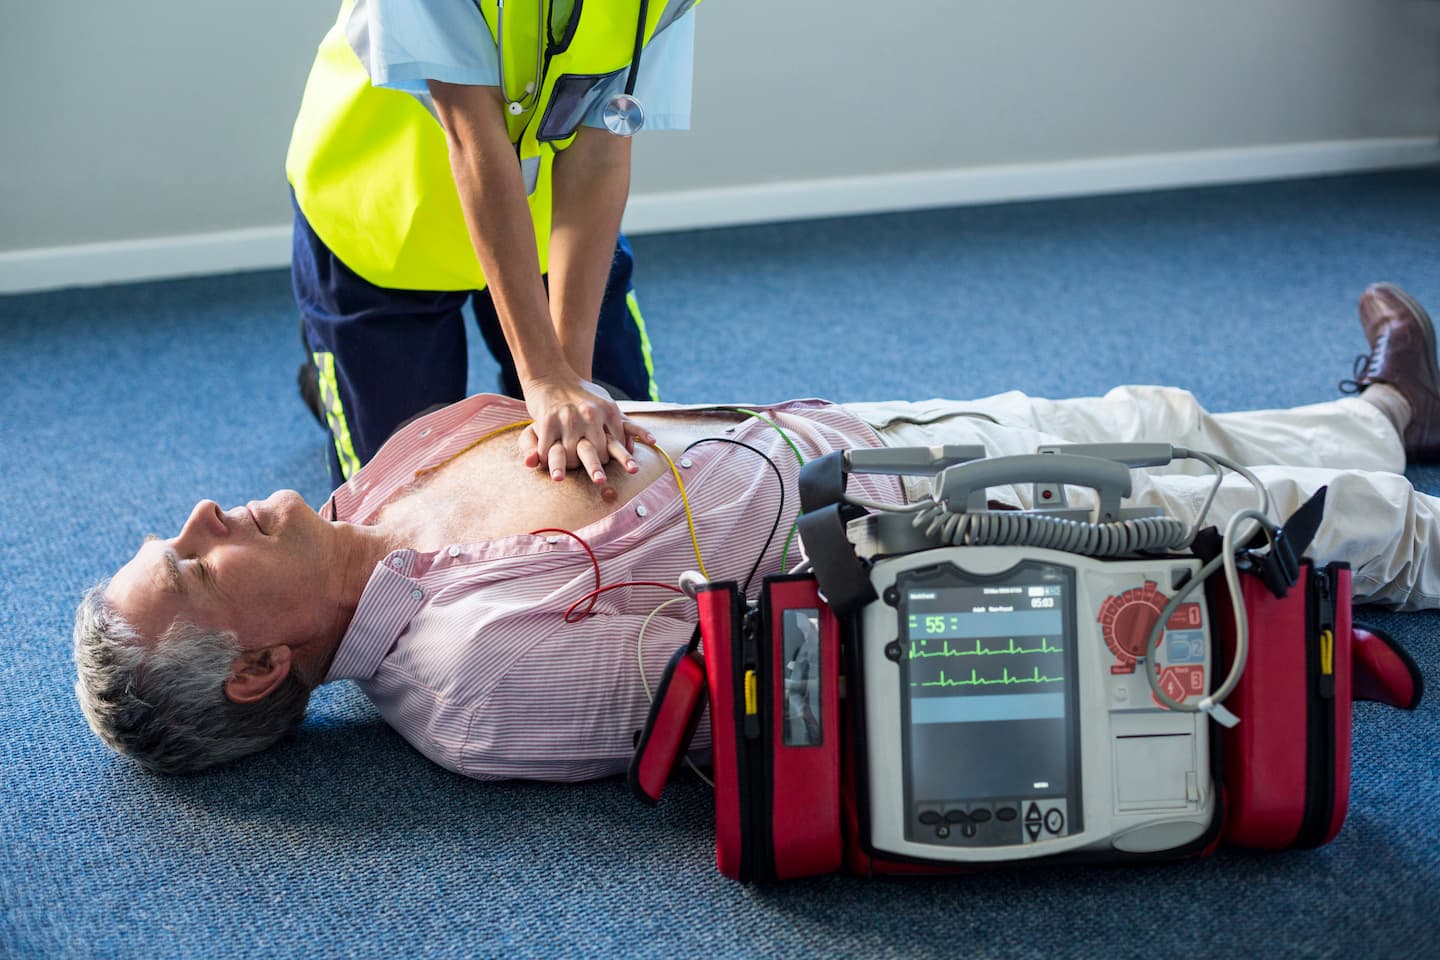
- High-Quality Chest Compressions: Learning the exact depth (at least 2 inches for adults) and rate (100–120 compressions per minute) required to circulate blood effectively.
- Multi-Rescuer Coordination: EMTs never work alone. You’ll learn how to switch roles with a partner seamlessly to prevent fatigue.
- Airway Management: You will practice using a Bag-Valve-Mask (BVM) to provide ventilations, a skill you will use frequently as an EMT.
- AED Operation: You’ll learn how to integrate an automated external defibrillator into the resuscitation cycle without interrupting compressions.
- Choking Relief: Advanced techniques for clearing obstructed airways in conscious and unconscious patients of all ages.
How long does a BLS certification stay valid for students?
For most organizations, including the American Heart Association (AHA) and the Red Cross, a BLS certification is valid for two years.
However, as an EMT student, timing is everything. If your card expires in the middle of your EMT course, you may be barred from attending your clinical rotations. It is highly recommended to get certified shortly before your program begins so that your credential remains active throughout your schooling and into your first few months of employment.
How do I find a class that fits an EMT student’s schedule?
We know that EMT-track students are busy. Many are balancing prerequisites, full-time jobs, or volunteer fire department duties. CPR Classes Near Me offers flexible scheduling to ensure you don’t fall behind.
- Frequent Classes: We offer sessions throughout the week, including evenings and weekends.
- Immediate Certification: Most of our students receive their digital provider card the same day they complete their skills session.
- Convenient Locations: Our goal is to provide training within a short drive of your home or campus.
Is First Aid certification required alongside CPR for EMTs?
While many layperson classes bundle CPR and First Aid together, EMT students usually only need the standalone BLS (CPR) certification.
Why? Because your EMT program is essentially a 150+ hour advanced first aid course. You will spend months learning how to splint limbs, control bleeding, and treat burns in much greater detail than a standard 4-hour First Aid class provides. However, always check your specific program’s “required documents” list to be certain.
What should I bring to my first CPR class?
Preparing for your BLS class is the first step in practicing the professional habits you’ll need as an EMT. Here is what you should have ready:
- Comfortable Clothing: You will be on your knees on the floor practicing on mannequins. Wear pants and comfortable shoes.
- Pre-course Work: If you chose a blended learning format, bring a printout or digital copy of your “Part 1” completion certificate.
- Notebook: While much of the class is hands-on, there are key ratios and numbers (like compression-to-breath ratios) that you’ll want to remember for your EMT entrance exams.
Ready to Start Your EMT Journey?
Becoming an EMT is a commitment to your community and a major career milestone. Don’t let a missing prerequisite hold you back from your goals. At CPR Classes Near Me, we specialize in providing the high-quality, professional-level BLS training that EMT programs demand.
Our instructors are experienced and understand the specific needs of future first responders. We make the process straightforward, fast, and educational, so you can focus on what matters most: passing your EMT course and saving lives.
Contact CPR Classes Near Me today to find a BLS for Healthcare Providers class and take the first step toward your EMT certification!
Frequently Asked Questions
Does a standard CPR card count for EMT school?
Generally, no. Most EMT programs specifically require “BLS for Healthcare Providers” or “Professional Rescuer” level certification. Standard “Heartsaver” or community CPR cards usually lack the two-rescuer and BVM (Bag-Valve-Mask) training required for medical professionals.
Do I need to be 18 to get CPR certified?
While you usually need to be 18 to finish an EMT program or work on an ambulance, there is typically no age requirement for CPR certification. Many students get certified at 17 so they are ready to enroll in EMT school the moment they turn 18.
How long does the BLS class take?
A full in-person BLS class typically takes about 4 to 4.5 hours. If you choose the blended learning option (online lecture + in-person skills), the in-person portion usually takes about 1 to 2 hours.
What happens if I fail the CPR skills test?
Our instructors at CPR Classes Near Me are dedicated to your success. If you struggle with a specific skill, we will work with you, provide corrections, and allow you to practice until you can perform the skill competently.
Can I use my CPR card in other states?
Yes. BLS certifications from the American Heart Association or Red Cross are nationally recognized and are valid across the United States.