Is CPR Renewal Easier Than First-Time CPR Classes?
If your two-year emergency credential is about to expire, you are likely wondering what your next steps look like. A very common question that healthcare providers, teachers, and fitness professionals ask is whether renewal classes are easier than first-time CPR classes.
Understanding the differences between initial certification and recertification helps you manage your schedule and walk into the classroom with total confidence. Let’s look closely at how these two training paths compare so you can keep your life-saving skills completely up to date.
Are CPR Renewal Classes Shorter Than Initial Training Sessions?
A major point of confusion for many students is how much time they need to dedicate to their recertification. Many people assume that because they have taken the training before, they can fast-track through a shortened version of the class.
When you take an official, in-person American Heart Association (AHA) course, the time commitment remains steady across both paths. All authorized training centers must present the complete, update-compliant instructional video to ensure no critical safety changes are missed. At our training locations, you can expect a comprehensive session lasting approximately 3.7 hours.
This standard timeline ensures that every student gets adequate time to view the source material, practice with the equipment, and complete their skills testing. Whether you are walking in for the very first time or resetting your card for the third time, you will receive the exact same deep-dive instruction. Dedicated time on the clock ensures you leave the facility fully prepared to respond to a real-world cardiac event.
Is the Material in a Recertification Class Less Difficult?
When evaluating the intellectual and physical difficulty of the material, a renewal class features the exact same curriculum as a first-time course. There is no dialed-down or simplified version of cardiopulmonary resuscitation when a human life is on the line.
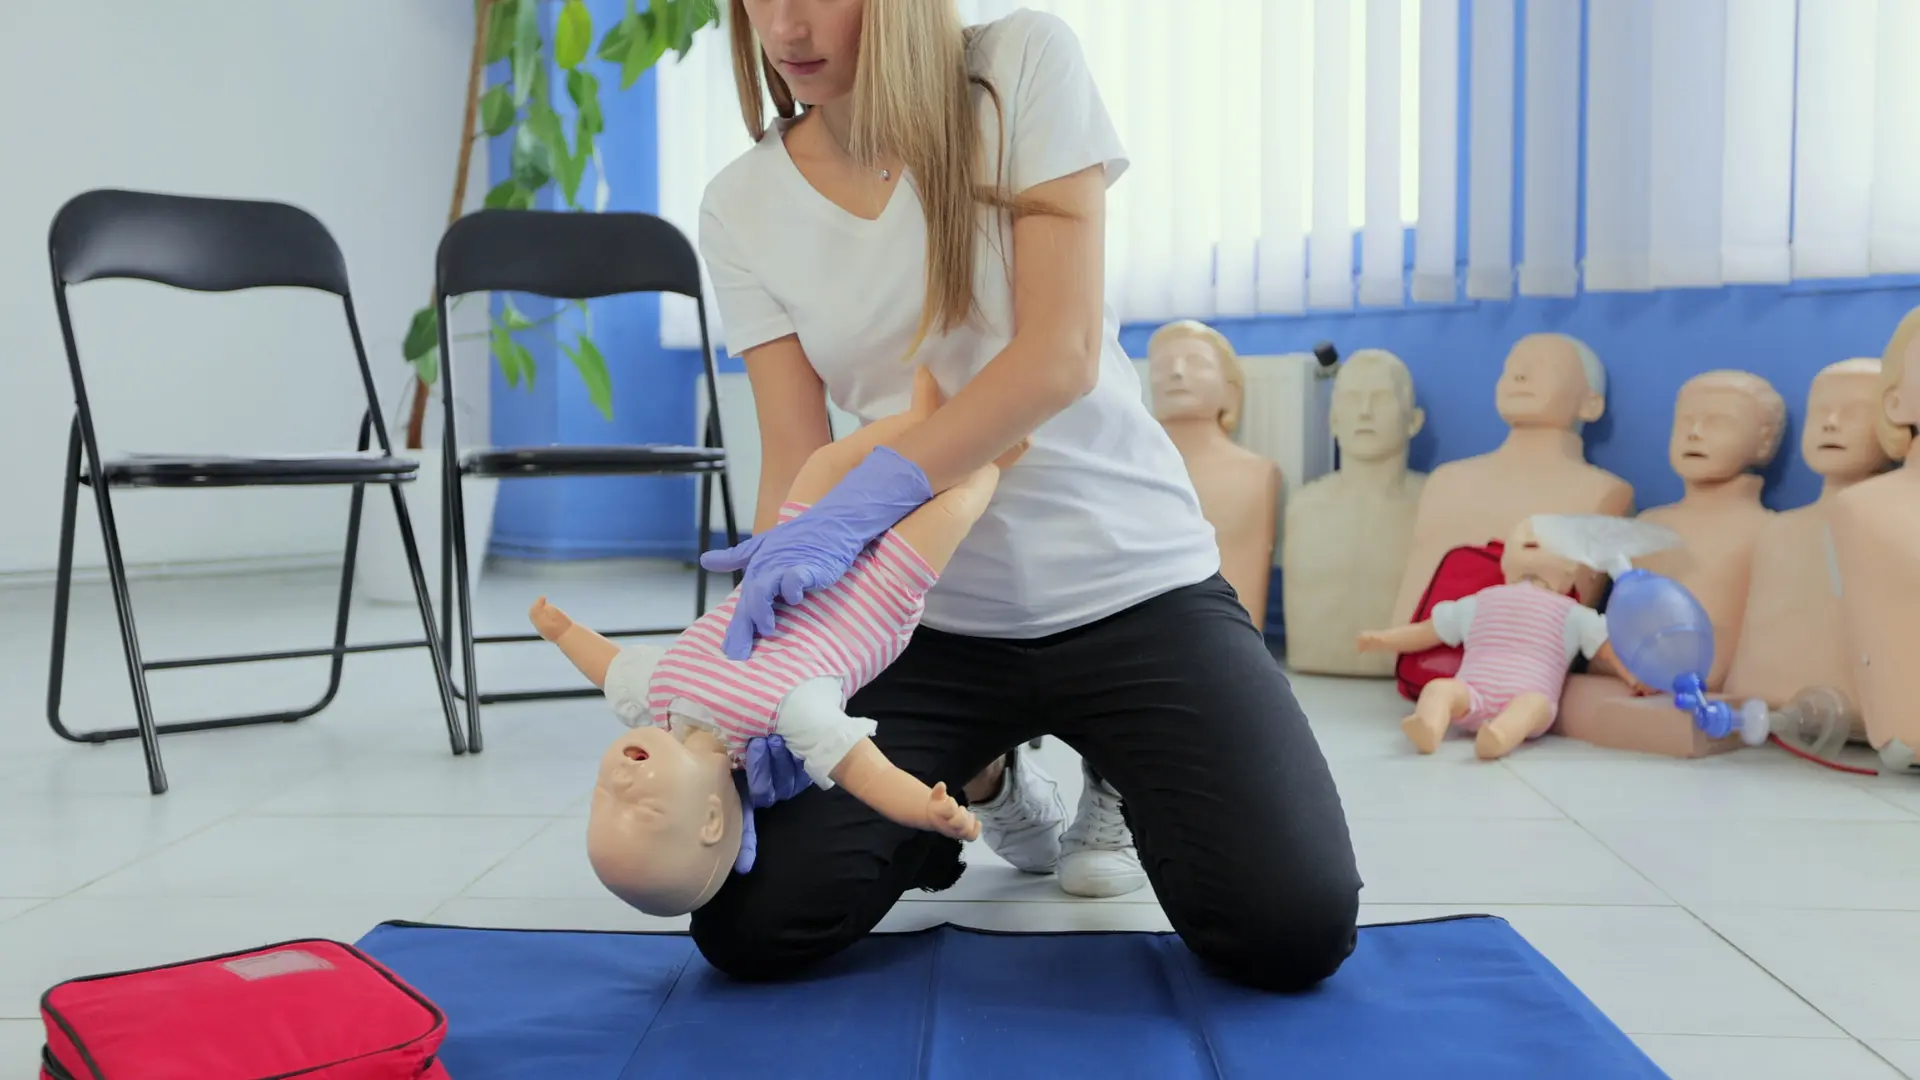
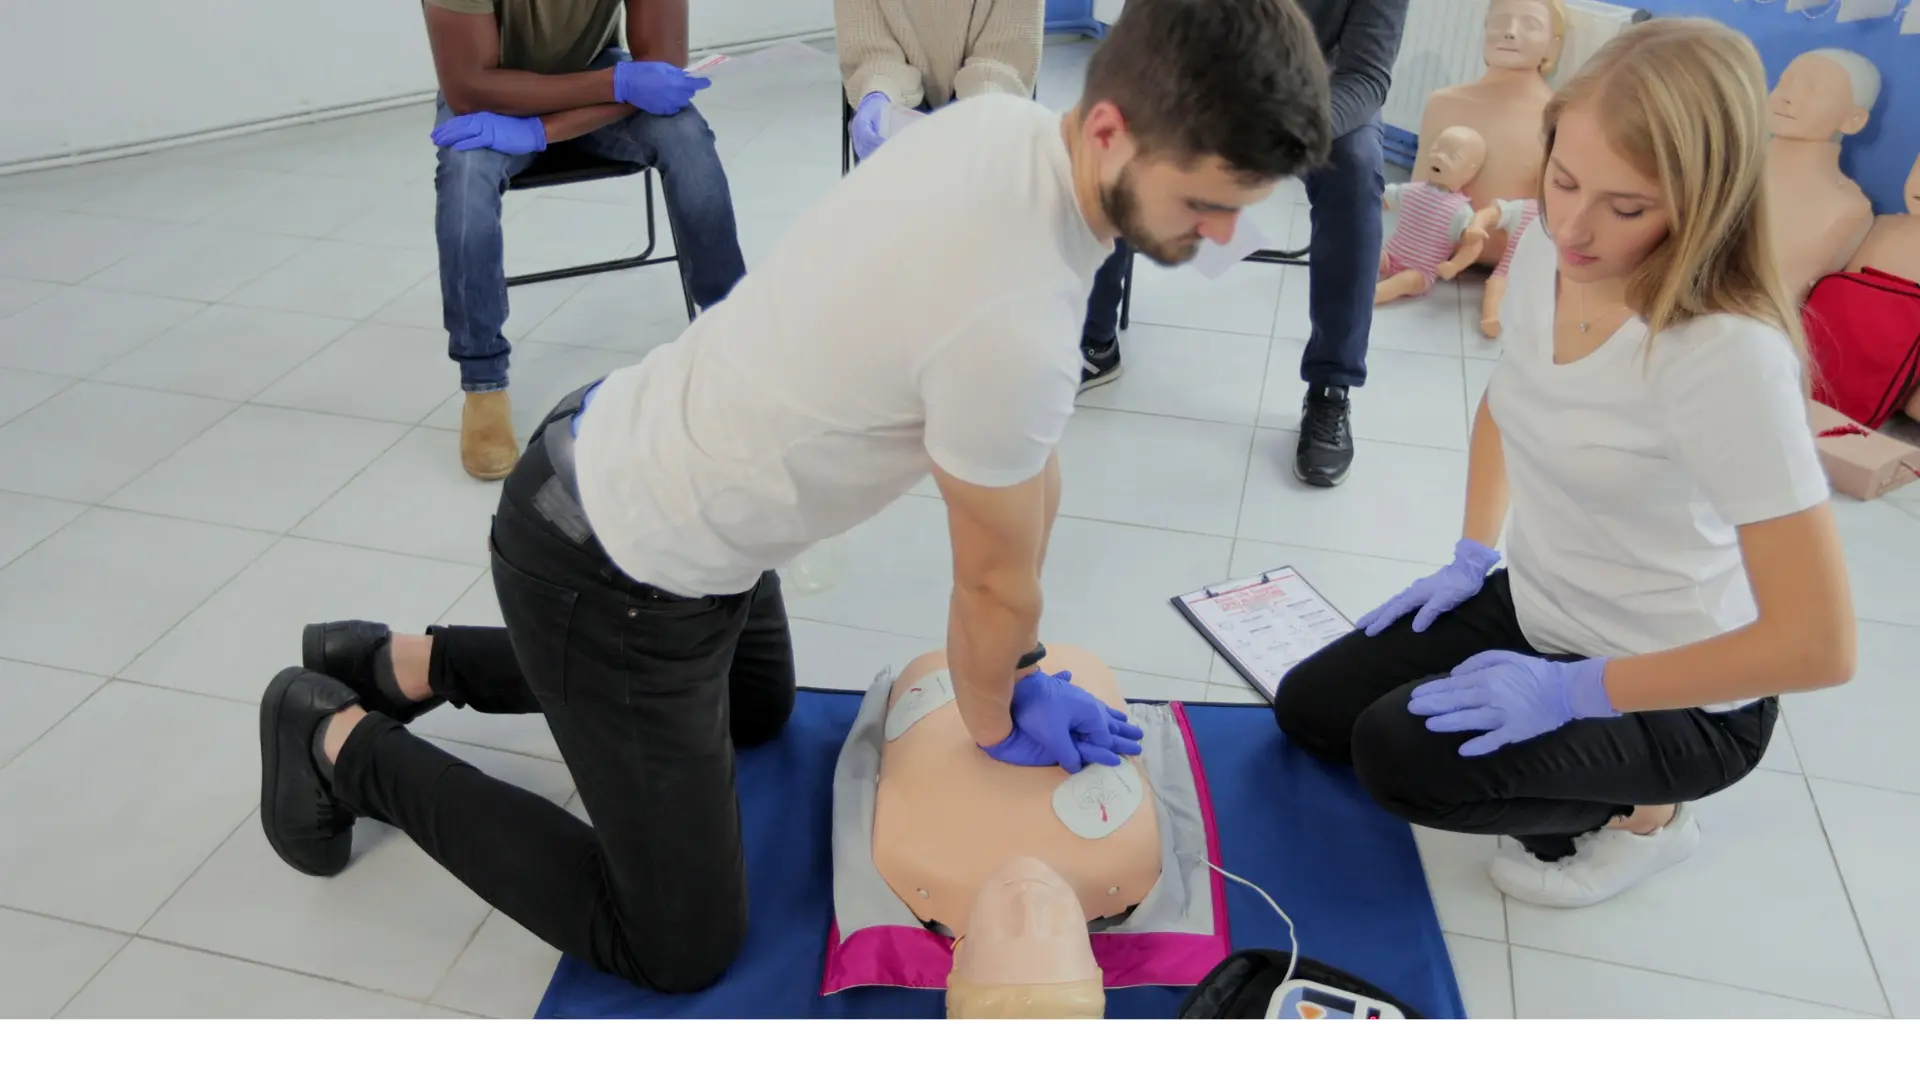
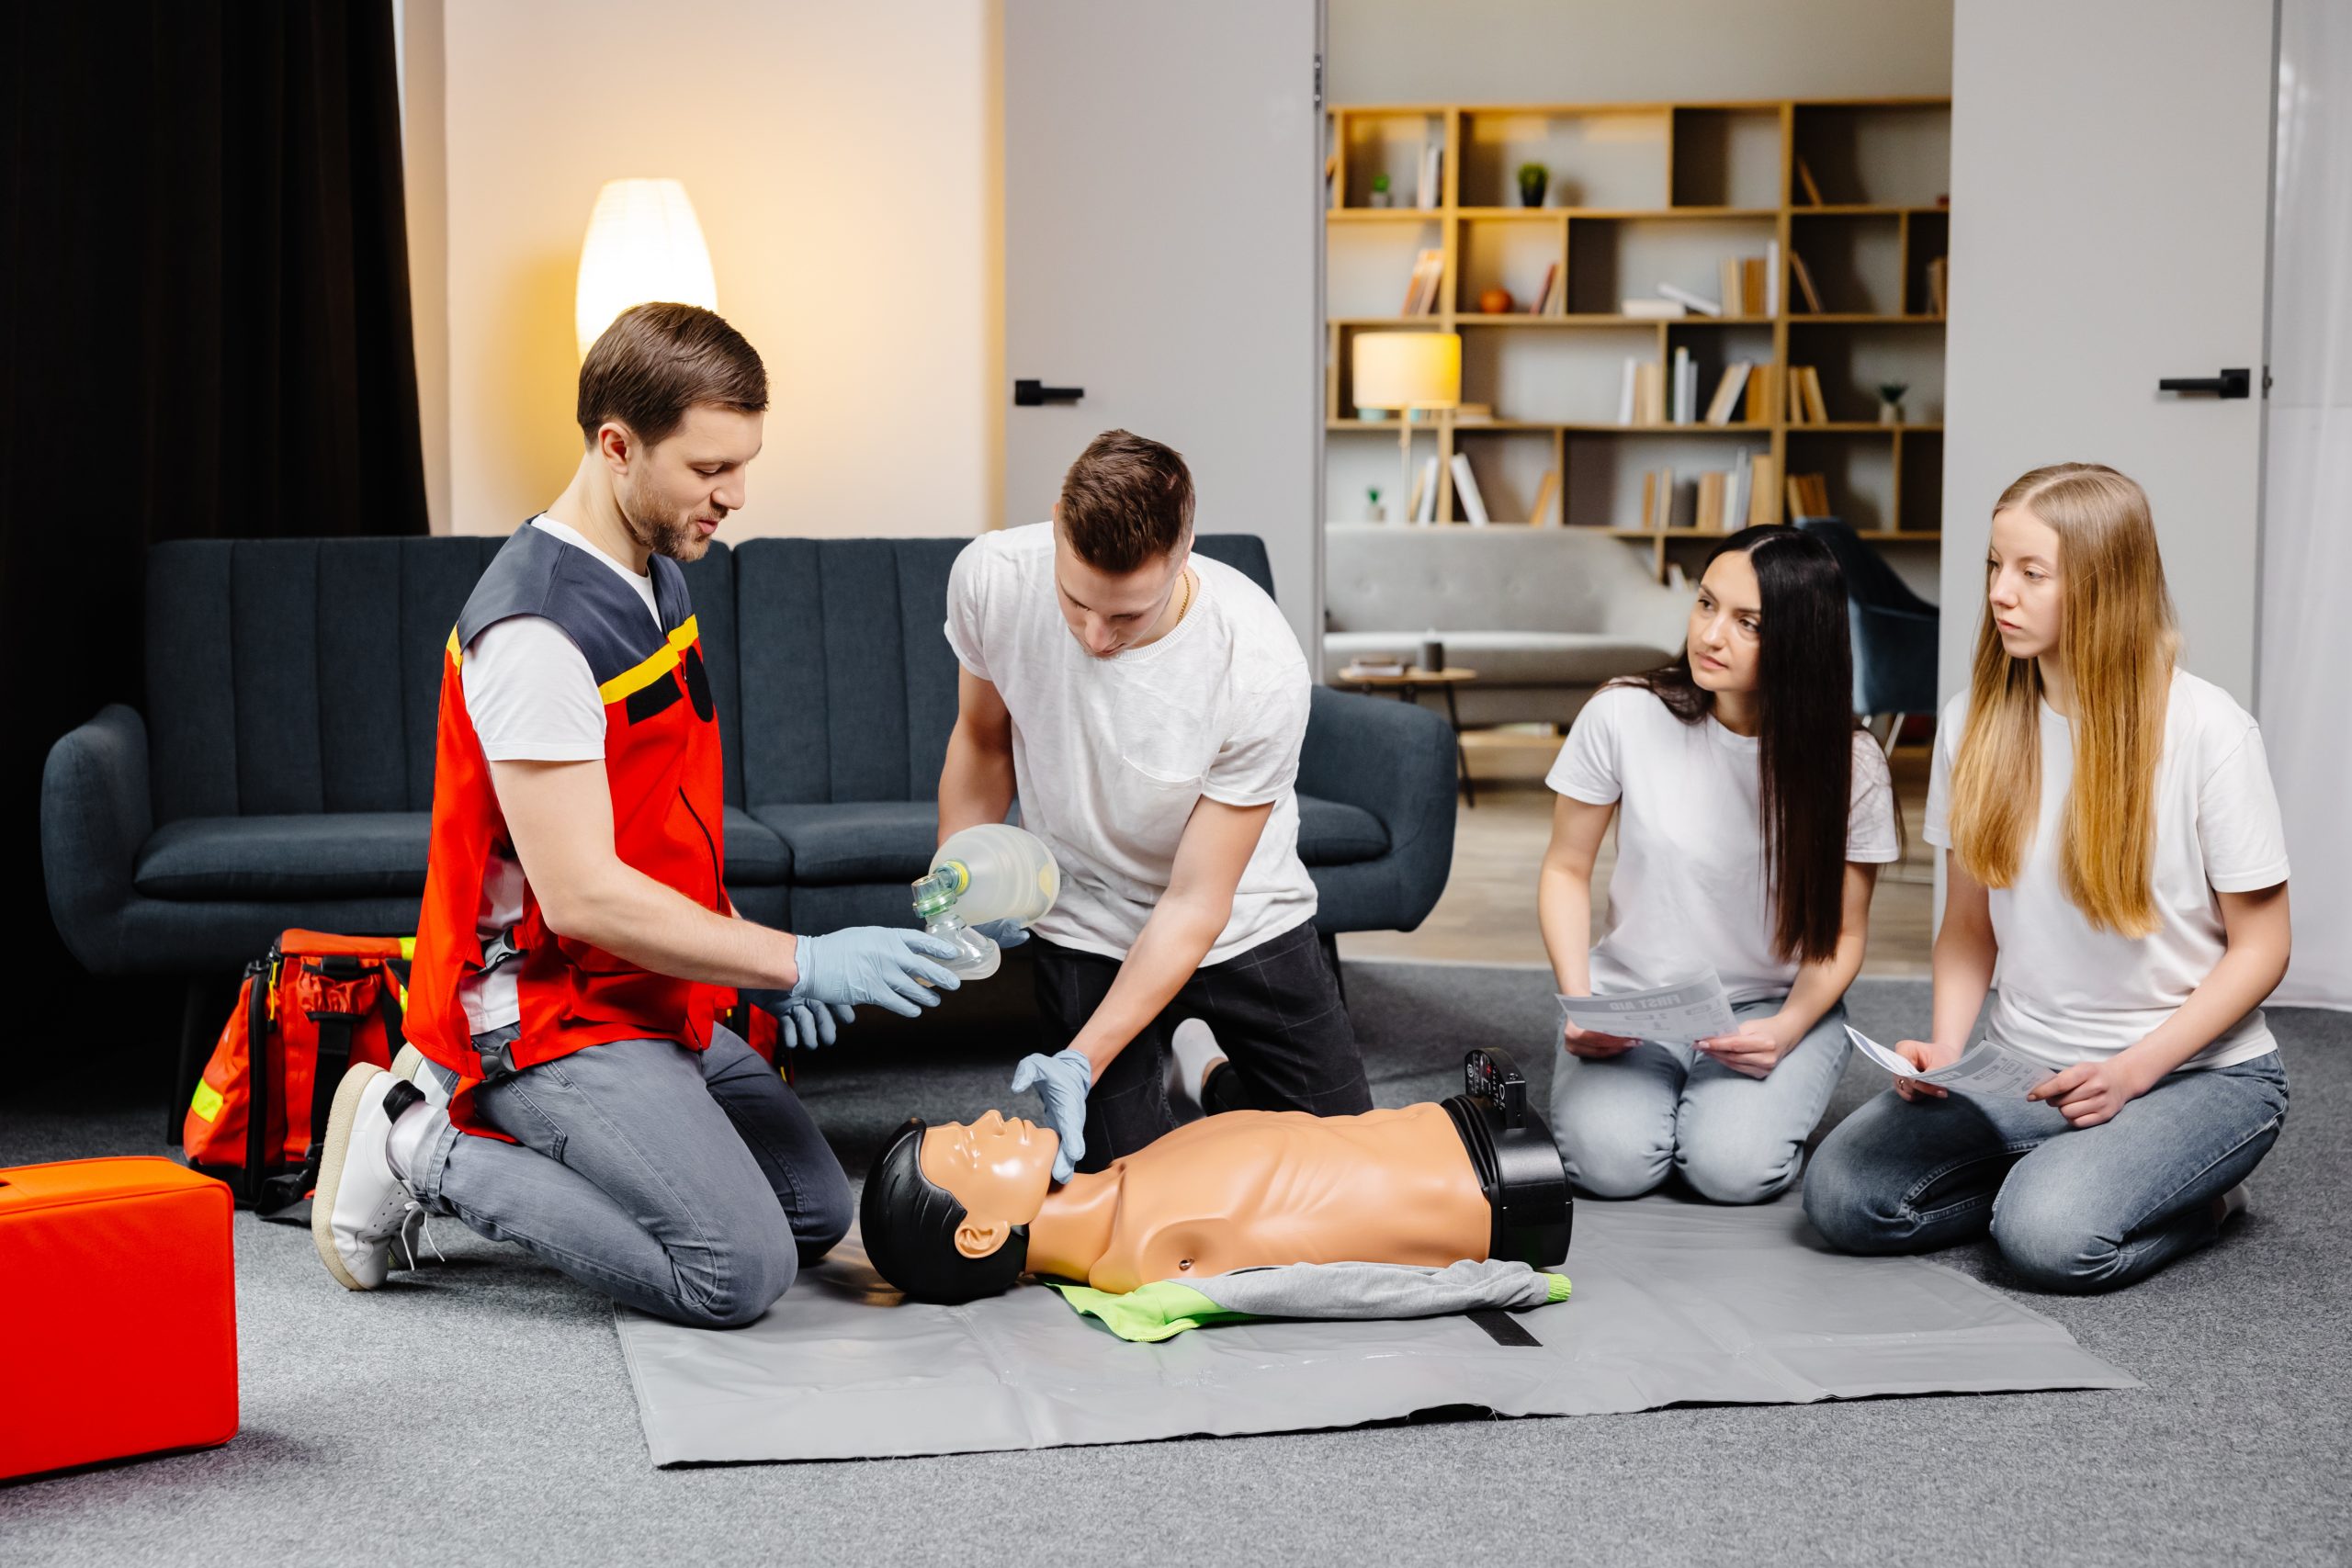
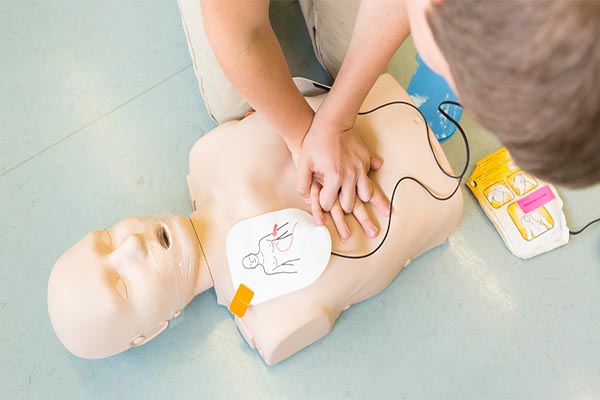
The core curriculum focuses heavily on high-quality CPR execution across all age brackets. You will practice the exact proper techniques for hands-on chest compressions, including correct hand placement and specific compression depths. The curriculum also strictly covers rescue breathing and the precise operation of an Automated External Defibrillator (AED) for adults, children, and infants.
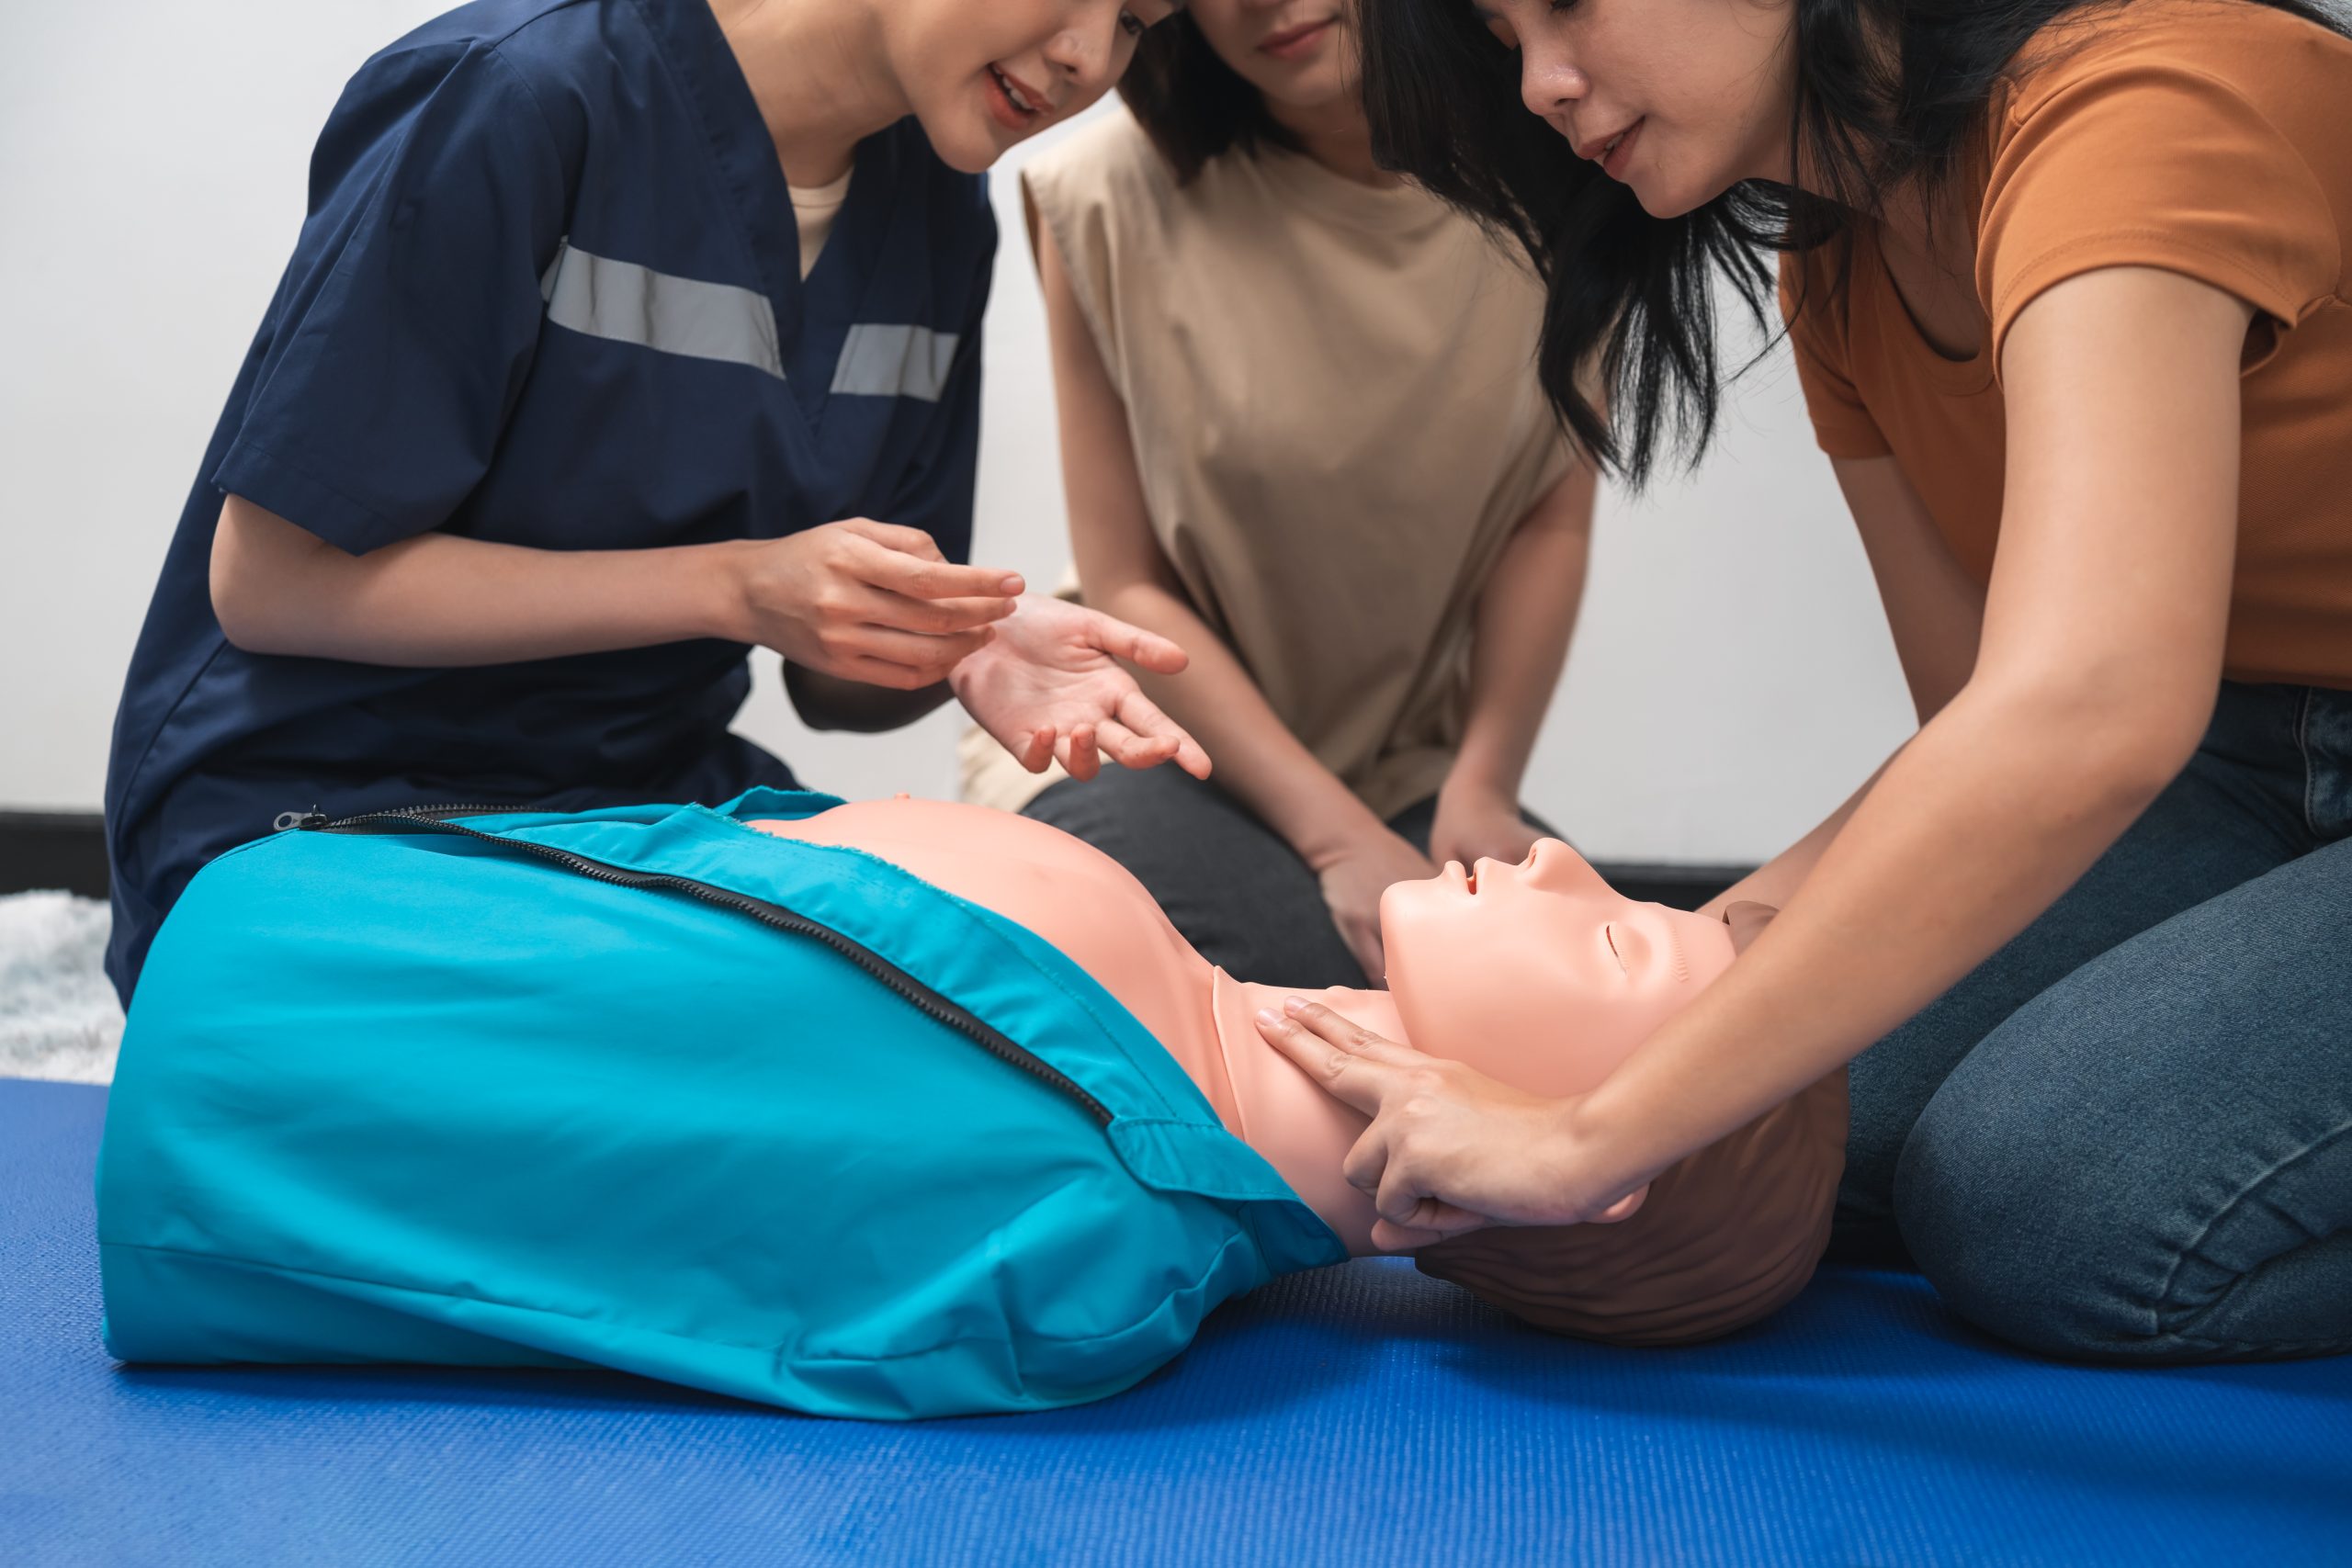
Because emergency science updates regularly based on new clinical data, the renewal course treats the material with the highest level of rigor. Your instructor will evaluate your real-time performance on physical manikins to confirm you can hit the correct rate of compressions to maximize blood flow. While your personal memory might make the concepts feel more familiar, the actual physical testing and written metrics remain completely identical to a first-time class.
Do Renewal Classes Cost Less Than First-Time Certifications?
For budget-conscious professionals keeping their work credentials active, the pricing structure for quality training is a major factor. Fortunately, keeping your life-saving skills active is highly affordable and structured identically to initial certifications.
At our training facilities, a standard Basic Life Support (BLS) course starts at an accessible rate of $64.95. If your specific career path requires comprehensive emergency preparation, you can select the BLS CPR and First Aid combination class for $84.95. This uniform pricing ensures you get premium, authorized instruction without any hidden tier fees based on your past experience level.
It is highly critical to watch out for alternative online websites that claim to offer cheap, lightning-fast recertifications. These platforms frequently lack the official AHA credentialing seals that human resource departments and regulatory boards require. Investing in an official, in-person class ensures your certification carries total nationwide acceptance by employers across all major industries.
Can I Renew My CPR Certification Online Fully?
With busy professional schedules, the convenience of a fully remote, online class can sound incredibly appealing. However, completely online training options do not satisfy the professional standards mandated by most workplaces.
True emergency response requires spatial awareness, muscle memory, and physical coordination that a computer screen simply cannot evaluate. Employers, healthcare networks, and safety boards almost universally reject certifications that are obtained solely through online modules without a live check-off.
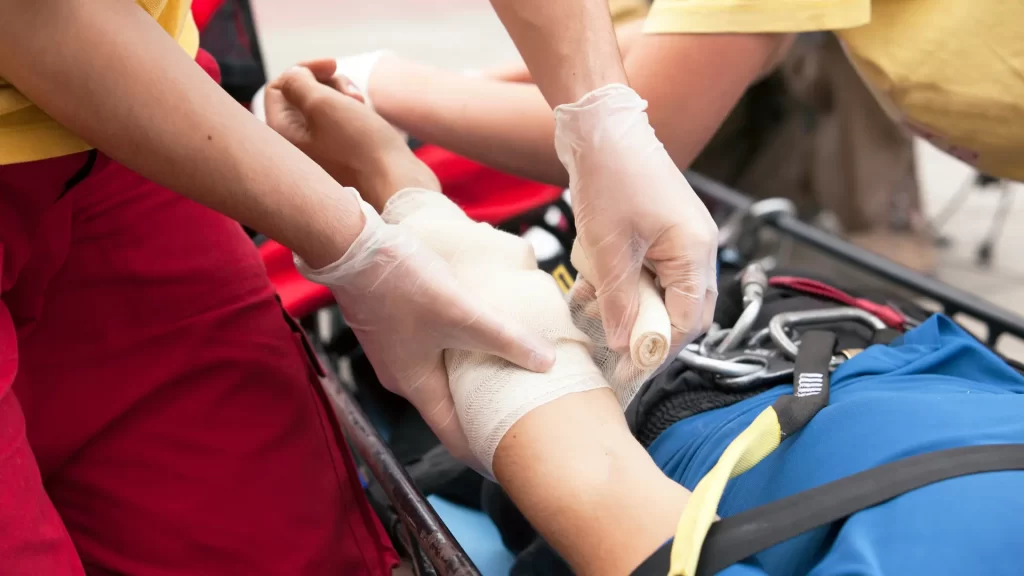
An in-person session allows an experienced instructor to watch your technique, correct your posture, and verify that you can handle real-world equipment. You will practice clearing airway obstructions for choking victims and operating live AED training units safely. This physical practice is the only way to build the muscle memory required to stay calm and effective during an actual cardiac arrest.
What Professions Benefit Most From Keeping a Valid BLS Credential?
Maintaining an active, non-expired emergency certification is a strict prerequisite across a vast array of career paths. Staying continuously certified ensures you remain legally compliant and completely prepared to assist the public when an unexpected accident occurs.
Our specialized training classes are fully OSHA-compliant and universally recognized across numerous sectors:
- Healthcare Systems: Nurses, Registered Nurses (RNs), Certified Nursing Assistants (CNAs), and medical office personnel.
- Educational Environments: Schoolteachers, daycare workers, child caretakers, and youth educators.
- Athletics and Fitness: Personal trainers, physical therapists, sports coaches, and athletic referees.
- Public Safety and Labor: Construction workers, professional electricians, flight attendants, and hospitality staff.
- Aquatics: Community swim instructors and professional lifeguards.
Why Should I Book My Renewal With CPR Classes Near Me?
When your current two-year certification card nears its expiration date, choosing the right provider makes all the difference for your schedule. Our training programs are designed from the ground up to be direct, stress-free, and supportive for busy adult professionals.
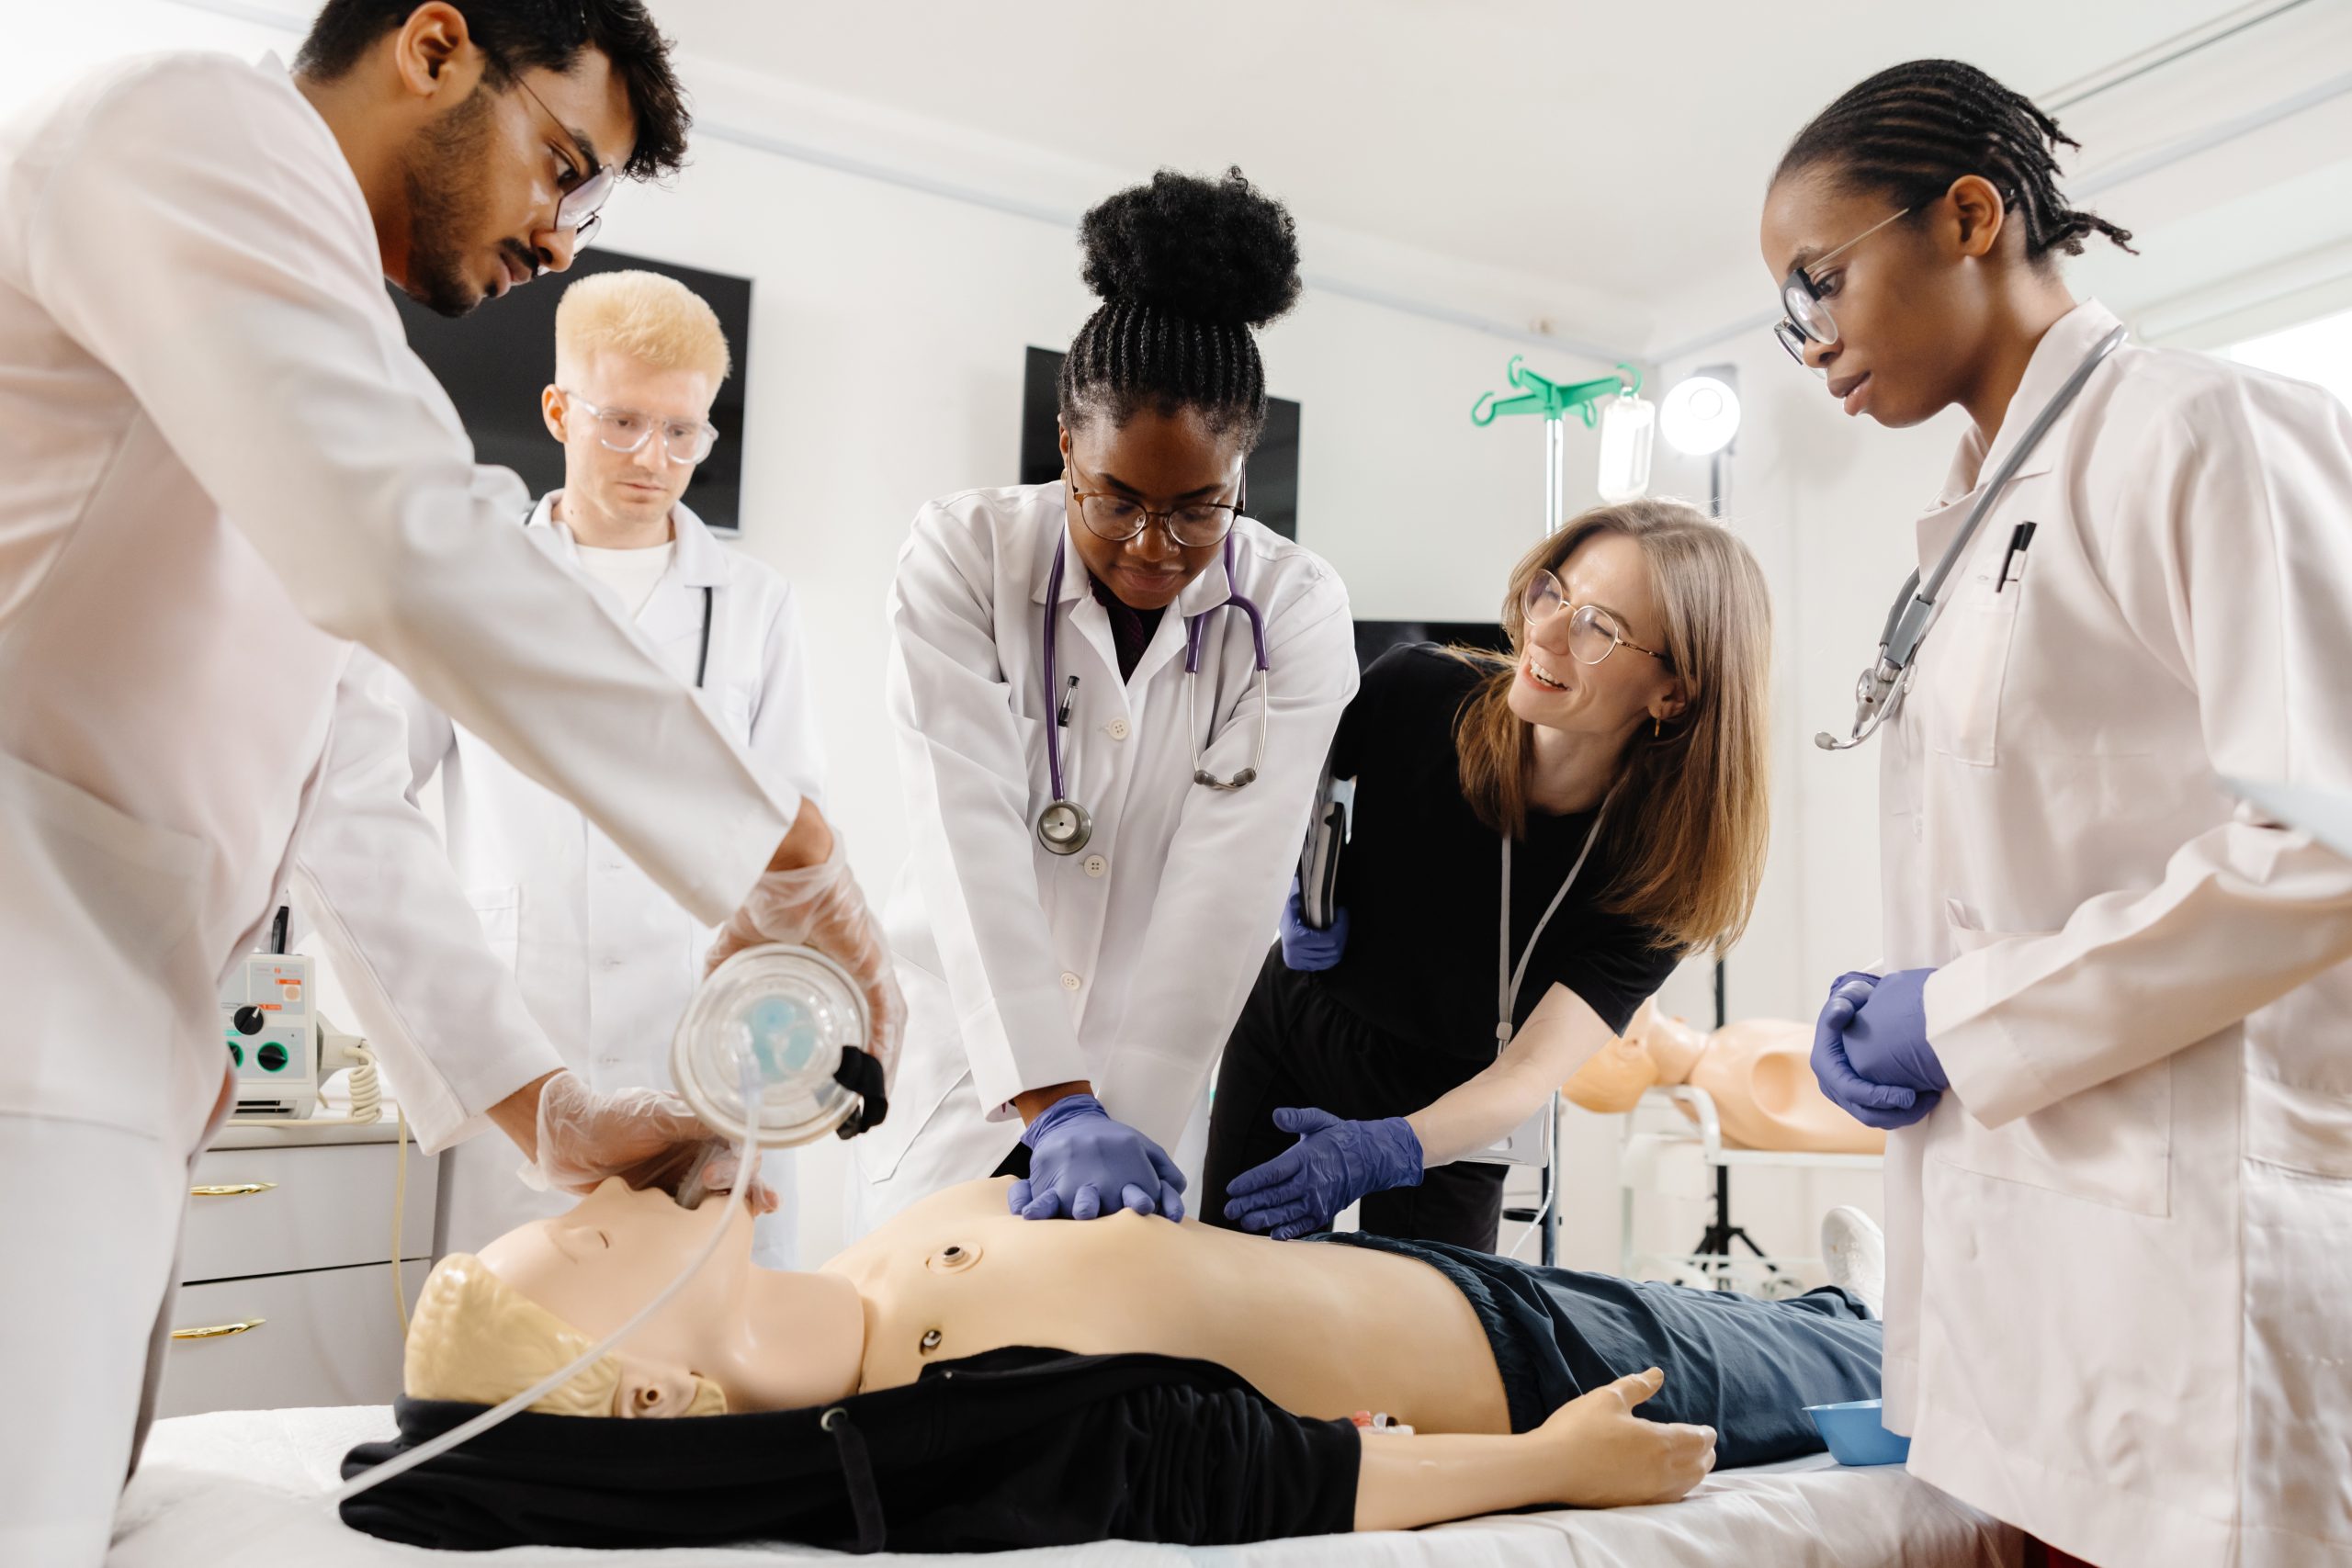
Our instructors create an engaging, comfortable, and highly interactive learning environment where your previous background is respected. We focus heavily on practical application, allowing you to get ample physical practice on our testing manikins. We break down the absolute latest medical guidelines clearly, ensuring you leave our facility feeling completely sharp and capable.
Best of all, we recognize that you cannot afford delays when your job compliance hangs in the balance. We handle student evaluations efficiently and issue your official AHA BLS eCard on the very same day you successfully finish the class. You walk out of our doors with a fully verified, employer-accepted credential that is active for the next two consecutive years.
How Should I Prepare for My Upcoming Recertification Classroom Session?
Stepping back into a classroom setting is completely straightforward when you know what to expect from an optimized training curriculum. Because you have already encountered the foundational concepts in the past, your main focus should be on refining your physical execution.
To ensure your renewal session goes perfectly smoothly, keep these practical classroom tips in mind:
- Wear Comfortable Clothing: You will be spending significant time on the floor practicing compressions on adult and infant manikins. Wear loose, flexible attire and comfortable shoes.
- Review the Basics Ahead of Time: Take a quick look over your previous course materials to refresh your memory on basic compression-to-breath ratios.
- Come Prepared to Ask Questions: If you have encountered unique scenarios or questions in your professional field over the last two years, our instructors are happy to provide expert guidance.
- Arrive Early for Check-In: Giving yourself a few extra minutes allows you to complete your paperwork comfortably before the instructional video begins.
Ready to secure your seat and update your life-saving credentials? Don’t let your compliance lapse and put your professional standing at risk. Contact CPR Classes Near Me today to find an upcoming session in your local area and lock in your same-day certification card!
Frequently Asked Questions
How long does an official CPR certification last before expiring?
An official American Heart Association CPR certification is valid for exactly two years from the date of course completion. To maintain your credentials without a lapse, you must complete a recertification class before the final day of the expiration month listed on your card.
What happens if I let my CPR certification expire completely?
If your certification expires completely, you lose your valid credentialing status and may be temporarily ineligible to perform certain professional duties at work. You will simply need to sign up for an in-person BLS course to re-establish your active status and receive a new card.
Are the testing requirements the same for a renewal class?
Yes, the testing requirements are completely identical to an initial class. You must successfully demonstrate high-quality physical skills on a manikin, including proper chest compressions and AED usage, and pass the standard written evaluation.
Can I get my certification card the same day I finish the class?
Yes, when you train with CPR Classes Near Me, your instructor will issue your official AHA BLS eCard on the very same day you finish your class. This digital credential can be immediately shared with your employer or HR department for compliance tracking.
Is an online-only CPR card accepted by healthcare employers?
No, online-only certifications are almost universally rejected by healthcare employers and state regulatory boards because they lack hands-on evaluation. Valid workplace credentials require an in-person, practical skills assessment with an authorized instructor using physical equipment.