How Do Employers Verify CPR Certification? A Complete Guide

CPR Certification for Construction Workers

When you hand over your CPR card to a new boss or a HR manager, you might wonder: do they actually check it? The short answer is yes. In industries ranging from healthcare and education to construction and fitness, a valid CPR certification isn’t just a “nice to have”—it is a legal and insurance requirement.

Employers have a professional responsibility to ensure their team is truly prepared for an emergency. Relying on a photoshopped PDF or an expired card could lead to massive liabilities. Because of this, the verification process has become highly streamlined and digital.

In this guide, we will break down exactly how employers verify your CPR credentials, why they care about the specific certifying body, and how you can ensure your card passes the test every time.

Why do employers verify CPR certification?

Employers don’t just check your card to be tedious. In many fields, having a certified staff is a mandate from Occupational Safety and Health Administration (OSHA) or state licensing boards.

  • Risk Management: If an incident occurs and an employee is found to have an invalid or fake certification, the company could face lawsuits.
  • Insurance Compliance: Many business insurance policies require that a certain percentage of staff be CPR/AED certified to maintain coverage.
  • Quality of Care: In healthcare settings, the ability to perform high-quality chest compressions is a matter of life and death. Verification ensures the training was rigorous.

How do employers use digital verification portals?

The days of carrying a soggy paper card in your wallet are largely over. Most major certifying bodies, like the American Heart Association (AHA) and the Red Cross, now issue “eCards” or digital certificates.

These digital records are stored in centralized databases that employers can access in seconds. Here is how that process typically works:

  1. The Unique ID: Every official certificate has a unique alphanumeric code or a QR code printed on it.
  2. Portal Access: The employer visits the official verification site (such as the AHA eCards search page).
  3. Data Entry: They enter your name and the certificate ID.
  4. Instant Result: The system immediately confirms the course type, the date of completion, and the expiration date.

What information is visible to an employer during verification?

When an employer looks up your credentials, they see more than just a “pass/fail” status. The verification portal provides a transparent look at your training history. Typically, an employer will see:

  • Full Legal Name: This must match the name on your government-issued ID.
  • Course Type: They can see if you took “Heartsaver CPR AED” or “Basic Life Support (BLS).”
  • Training Center Info: It will list where you took the class, such as CPR Classes Near Me.
  • Issue and Expiration Dates: They will see exactly when your two-year window began and ends.
  • Status: It will clearly state if the card is “Active,” “Expired,” or “Voided.”

Can employers verify if a class was online-only?

This is a critical point for job seekers. Most employers—especially those in healthcare or high-risk industries—will not accept a CPR certification that was earned 100% online without a hands-on skills session.

Employers can often tell if a class was online-only based on the certificate type or the agency that issued it. Many reputable agencies include a specific notation on the certificate if a hands-on skills assessment was completed. If an employer sees a certificate from a “fly-by-night” online-only website, they may reject it immediately because it does not meet OSHA’s requirement for a hands-on component.

How does the QR code verification process work?

Many modern CPR certificates feature a QR code in the corner. This is the fastest way for an employer to verify your status during an interview or a compliance audit.

  • Scanning: The employer scans the code using a smartphone camera.
  • Redirection: The code links directly to a secure, encrypted URL hosted by the certifying agency.
  • Authentication: Because the URL belongs to the official agency (e.g., heart.org), the employer knows the information hasn’t been tampered with.

What happens if an employer cannot find your certification?

It can be stressful if an employer says they can’t find your record in the system. However, this doesn’t always mean your card is fake. Common reasons for “Not Found” results include:

  • Typos: A simple misspelling of your last name or a mistyped ID number.
  • Unclaimed eCards: With some providers, the student must “claim” the card via email before it becomes active in the public search database.
  • Processing Time: It can take 24 to 48 hours after your class for the Training Center to upload your results to the national database.
  • Name Changes: If you recently got married or changed your name but your certification is under your maiden name, the records won’t match.

Does the certifying agency matter to employers?

Yes, the agency matters immensely. While there are many companies that offer CPR training, most employers specifically look for two main names:

  1. American Heart Association (AHA): Often considered the gold standard for healthcare providers.
  2. American Red Cross: Widely accepted for teachers, coaches, and general workplace safety.

If your certification comes from a brand an employer doesn’t recognize, they may ask for the course syllabus to ensure it meets the same scientific standards as the AHA.

How can you help your employer verify your card?

To make the hiring process as smooth as possible, you should be proactive. Don’t wait for your employer to go hunting for your records.

  • Keep the PDF: Always save the digital PDF of your eCard to your phone or cloud storage.
  • Check the ID: Before handing it over, try entering your own ID into the provider’s lookup tool to make sure it’s active.
  • Share the Link: Many eCard systems allow you to “Email to Employer” directly from the portal. This is the most professional way to provide proof.

What are the consequences of a fake CPR card?

In the age of digital verification, attempting to use a fraudulent CPR card is a massive risk.

  • Immediate Termination: Most employment contracts consider falsifying safety credentials as “cause” for immediate firing.
  • Professional Blacklisting: In fields like nursing or EMS, falsifying records can be reported to the state board, potentially ending your career.
  • Legal Liability: If you attempt to perform CPR on a customer or patient and fail, and it is discovered you faked your training, you (and your employer) could face criminal or civil charges.

How do you ensure your certification is always “Verify-Ready”?

The best way to stay compliant is to choose a reputable training provider that uses official eCard systems. When you train with a professional center, your records are automatically uploaded to the national database, making verification effortless for your boss.

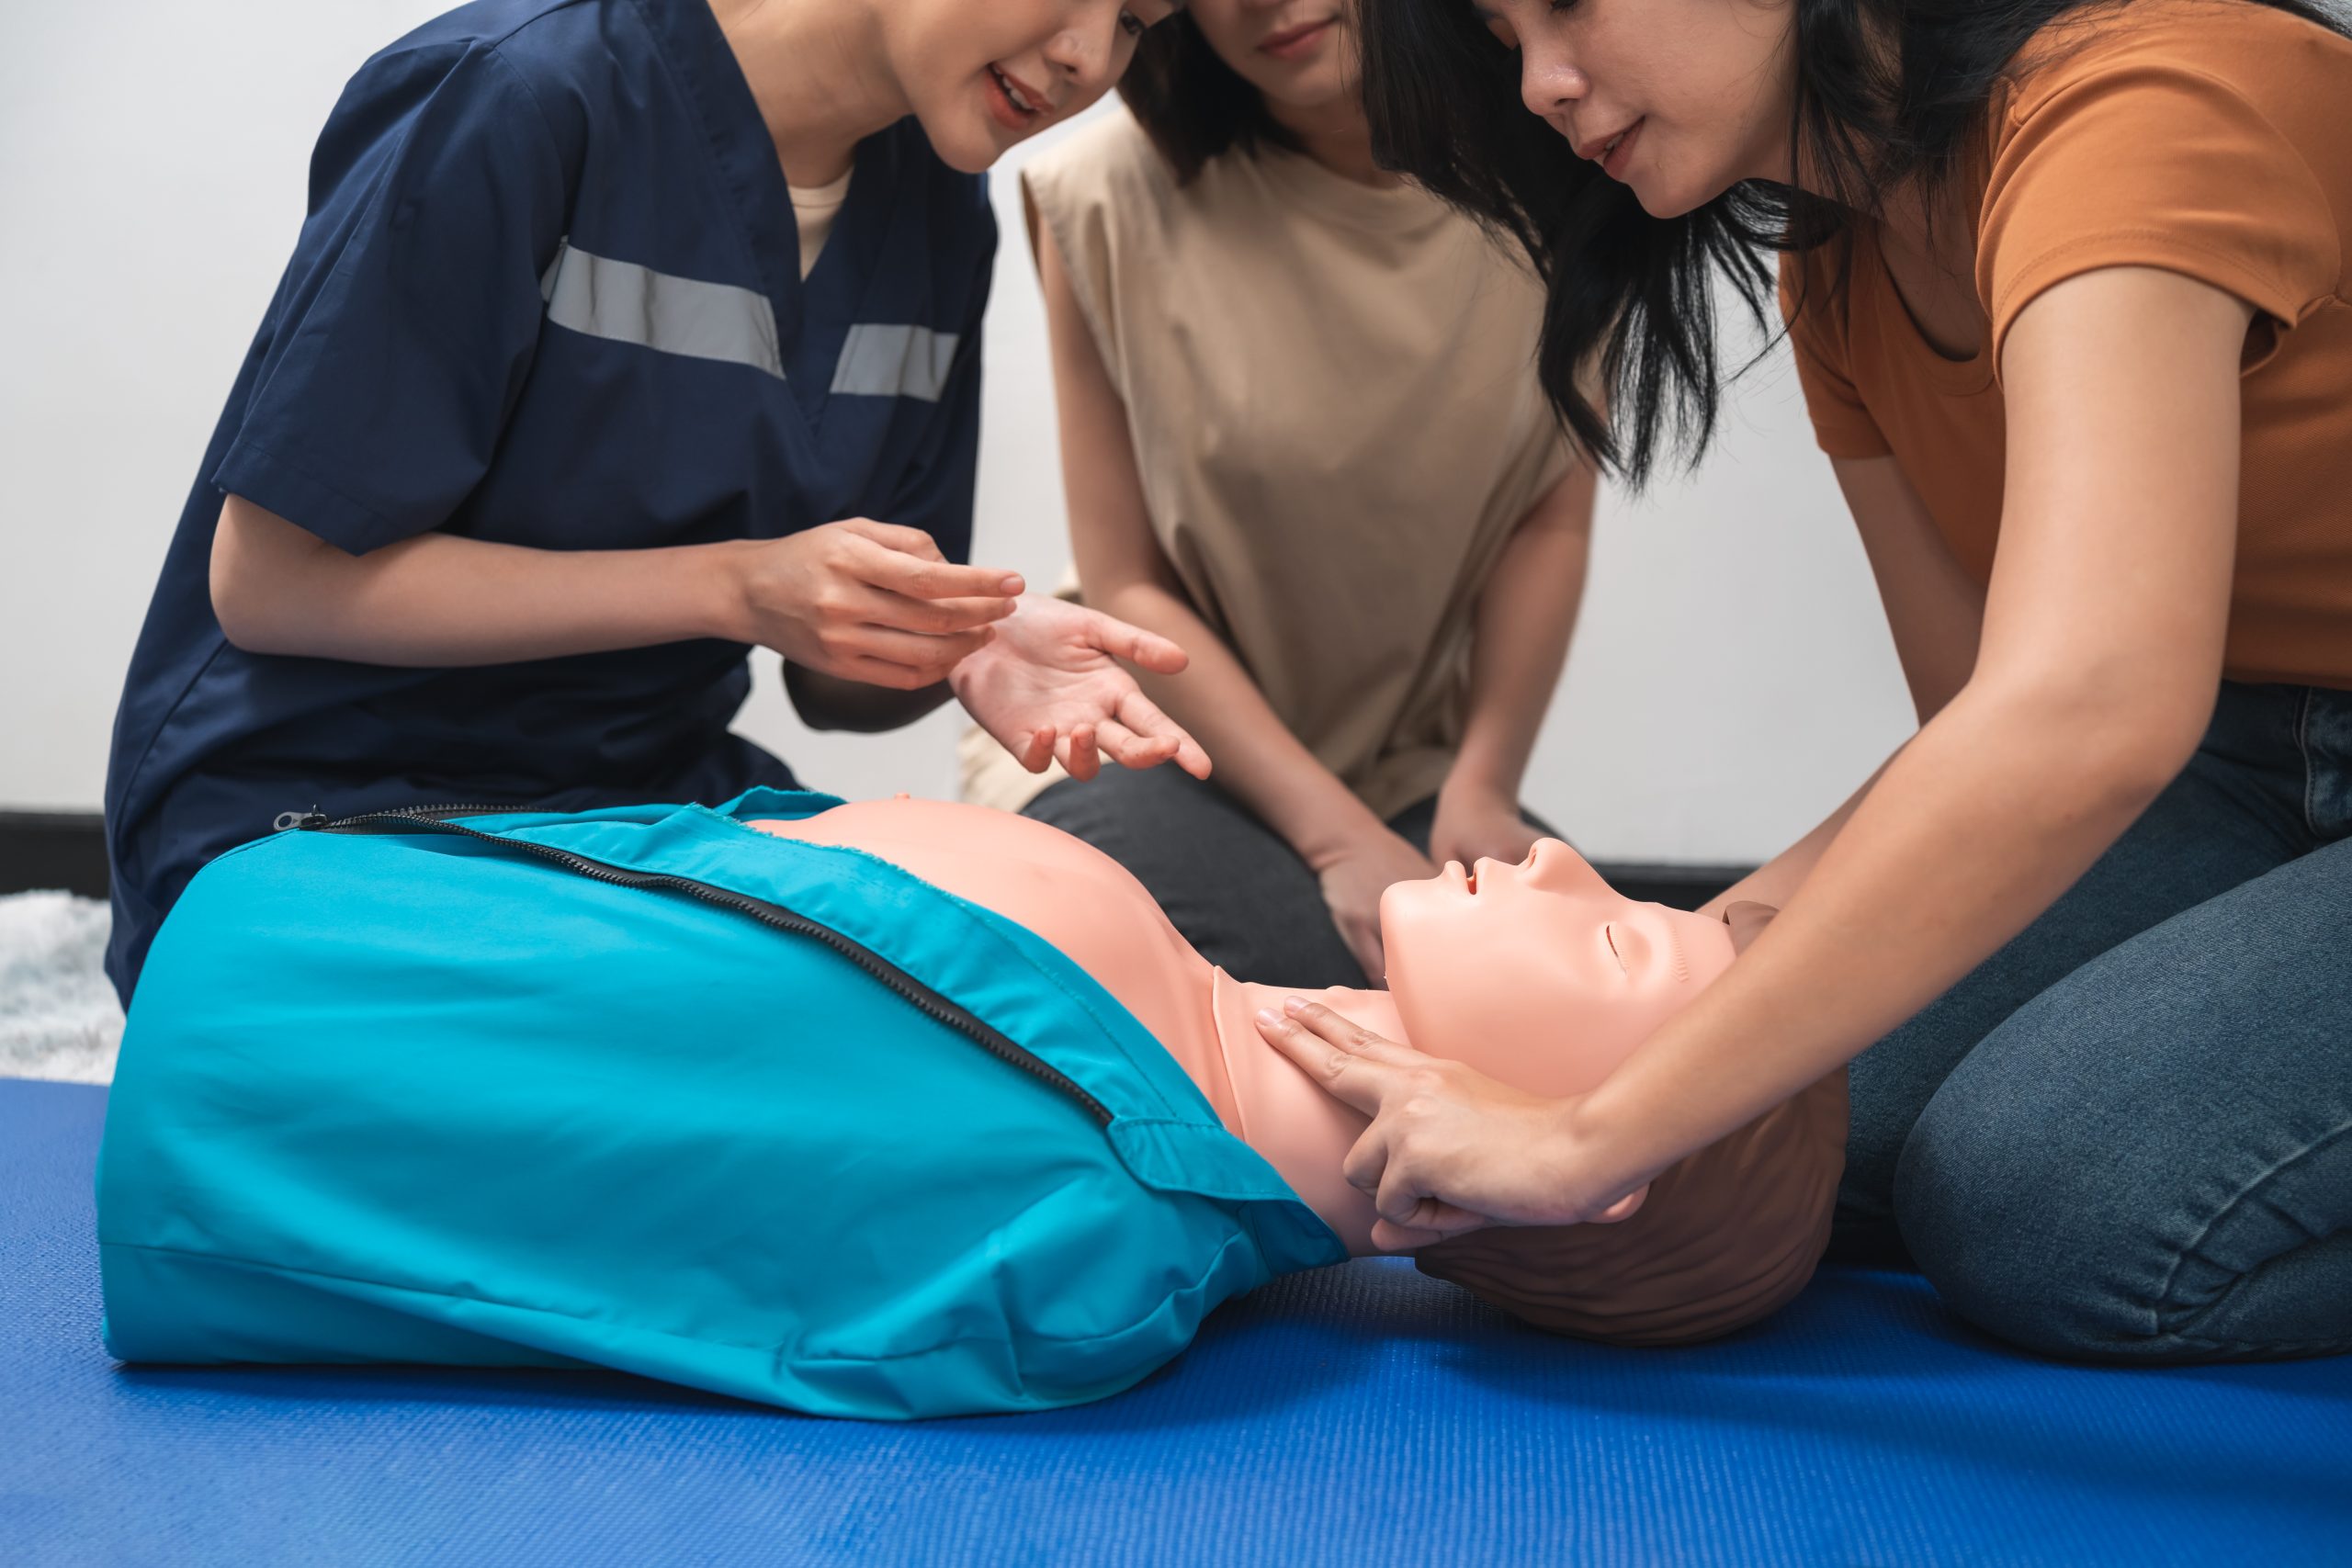
  • Always do the hands-on portion: Never skip the manikin practice.
  • Renew early: Start looking for classes 60 days before your card expires.
  • Use your legal name: Don’t use nicknames like “Bill” if your legal name is “William,” as this causes database mismatches.

Conclusion

Employer verification of CPR certification is a standard, automated process designed to keep workplaces safe. By using unique IDs, QR codes, and centralized databases, companies can ensure that their team members have the life-saving skills they claim to have.

Whether you are a healthcare professional or a workplace safety lead, staying on top of your certification status is your responsibility. Always choose a training provider that issues nationally recognized, verifiable credentials.

Ready to get your verifiable CPR certification? Contact CPR Classes Near Me today to find a class and keep your workplace compliant!

Frequently Asked Questions (FAQ)

Q: How long does it take for my CPR card to show up in the system?

A: Most eCards appear in the official database within 24 to 48 hours after you complete your skills check. If it has been more than a week, contact your training provider.

Q: Can an employer verify my card if I lost the physical copy?

A: Yes. As long as you know the email address you used to register for the class, you can usually look up your certificate ID online and provide that to your employer.

Q: Do all employers check CPR certifications?

A: While not every employer checks every day, most HR departments verify credentials during the hiring process and during annual compliance audits.

Q: Is there a fee for an employer to verify my card?

A: No, verifying a card through the official AHA or Red Cross portals is a free service provided to the public.

Q: What if my name is misspelled on my CPR card?

A: You should contact your training instructor immediately to have the record corrected. A misspelled name can prevent an employer from verifying your status during a background check.

Can You Fail CPR Certification? What You Need to Know

First aid instructor teaching CPR to a group of students using a practice mannequin.

Have you ever sat in a classroom, looking at a CPR manikin, and felt a tiny knot of anxiety in your stomach? You’re not alone. Whether you need your card for a new job in healthcare or you just want to be prepared to save a life, the question “Can you fail CPR certification?” is incredibly common.

The short answer is: yes, it is possible to fail. But here is the good news—the process is designed to help you succeed, not to trip you up. CPR training isn’t a “gotcha” style exam; it’s a competency-based program intended to ensure that if a real emergency happens, you actually know what to do.

In this guide, we’ll break down exactly what might cause someone to miss the mark, what happens if you don’t pass on your first try, and how you can prepare to breeze through your class with CPR Classes Near Me.

Is it hard to pass a CPR certification course?

For the vast majority of people, passing a CPR course is very straightforward. The curriculum is built to be logical and repetitive, which helps the information stick. Most people find that the hands-on nature of the class makes the “how-to” much easier to remember than just reading a textbook.

That said, “easy” doesn’t mean “automatic.” You do have to show up, pay attention, and demonstrate that you can perform the physical skills. If you approach the class with a willingness to learn and practice, you are almost guaranteed to walk away with your certification.

What are the most common reasons people fail?

While the failure rate is low, there are a few specific areas where students tend to struggle. Usually, it comes down to one of three things:

  1. Physical Technique Issues: This is the most common reason for a “not yet” during the skills test. CPR is physically demanding. You might fail to push deep enough (at least 2 inches for adults) or you might be going too fast or too slow (the “Stayin’ Alive” beat is the goal).
  2. Missing Critical Steps: CPR follows a very specific “Chain of Survival.” If you forget to check if the scene is safe or neglect to call 911 before starting compressions, an instructor might ask you to restart the scenario.
  3. Test Anxiety on the Written Exam: Some people are great at the physical part but get nervous when faced with a multiple-choice test. If you don’t meet the minimum passing score (which is usually around 80% to 84% depending on the provider), you may need to retake that portion.

What happens if you fail the written exam?

If you don’t hit the required score on your written test, don’t panic. It is not the end of the road. Most instructors will allow you to review the questions you missed right then and there.

In many cases, the instructor will provide “remediation.” This is a fancy way of saying they will sit down with you, explain the concepts you didn’t quite grasp, and give you a second chance to take the test or a similar version of it. The goal of CPR Classes Near Me is to ensure you understand the material, so instructors are usually very happy to help you get over that finish line.

What happens if you fail the hands-on skills test?

The skills test is where you show the instructor you can actually do the work. If you are struggling with your compression depth or hand placement, the instructor will usually give you feedback in real-time.

If, by the end of the session, you still aren’t meeting the required standards, you won’t receive your card that day. However, you aren’t “banned” from trying again. You will likely be encouraged to:

  • Review the instructional videos.
  • Practice the physical motions at home (even on a firm pillow).
  • Schedule a follow-up session or retake the skills portion of the class.

Are there physical requirements that could cause a failure?

CPR is a physical act. You are essentially acting as someone’s heart and lungs. This requires you to be on your knees on the floor and use your upper body strength to compress a chest.

Common physical hurdles include:

  • Inability to kneel: If you have severe knee or back issues that prevent you from getting on the floor, you should talk to your instructor beforehand. Often, accommodations can be made, such as placing the manikin on a table.
  • Fatigue: Performing high-quality compressions for two minutes is exhausting. If you can’t maintain the depth and rate due to exhaustion, you might fail the skills check.

Can you fail for not showing up?

This might seem obvious, but “failure to complete” is a common reason people don’t get certified. Most accredited courses, like those found through CPR Classes Near Me, require 100% attendance. Because the information is condensed into a few hours, missing even thirty minutes of class means you missed a vital module (like how to use an AED or how to help a choking infant). If you are late or have to leave early, you will likely have to reschedule the entire course.

How can you prepare to ensure you pass?

Preparation is the best cure for nerves. If you want to make sure you pass on the first try, follow these simple steps:

  • Watch the videos: If you are taking a blended learning course (part online, part in-person), don’t skip the videos. They provide the visual rhythm you need for the skills test.
  • Focus on the numbers: Memorize the key ratios. For adults, it’s always 30 compressions to 2 breaths. Knowing these numbers cold will save you a lot of stress during the test.
  • Dress comfortably: You will be moving around, kneeling, and working hard. Wear clothes that allow you to move freely and shoes that give you a good grip on the floor.
  • Ask questions: If you aren’t sure where your hands go or how to tilt the head for a breath, ask! Your instructor is your best resource.

How does the instructor decide if you pass or fail?

Instructors use a standardized checklist provided by the certifying body (like the American Heart Association). They are looking for specific “Critical Skills Descriptors.” These usually include:

  1. Checking the scene for safety.
  2. Checking for responsiveness (tap and shout).
  3. Calling for help/911 and getting an AED.
  4. Correct hand placement in the center of the chest.
  5. Adequate compression depth and rate (100–120 beats per minute).
  6. Allowing the chest to fully recoil between compressions.
  7. Delivering effective rescue breaths that make the chest rise.

If you check all these boxes, you pass!

Why is the AED portion so important?

Many students worry about the Automated External Defibrillator (AED) portion of the test. However, the AED is actually the easiest part of the class because the machine literally tells you what to do! As long as you follow the voice prompts exactly—turn it on, plug in the pads, and stay clear when it tells you to—you will pass this section with flying colors.

Is the certification the same for everyone?

The criteria for passing can vary slightly depending on the level of the course. For instance:

  • Layperson CPR: Focuses on high-quality compressions and basic AED use.
  • Healthcare Provider (BLS): Has a higher standard for precision, including two-rescuer scenarios and the use of bag-mask ventilators.

When you book through CPR Classes Near Me, make sure you select the course that matches your needs so you aren’t overcomplicating the process for yourself.

Conclusion

Failing a CPR certification is rare, but it does happen. When it does, it’s usually a sign that you just need a little more practice to ensure you can safely save a life. Remember, the goal of the certification isn’t just to get a plastic card—it’s to gain the confidence and skill to act when someone’s life is on the line.

By choosing a reputable training provider, staying engaged during class, and practicing your physical techniques, you’ll find that passing your CPR test is not only achievable but also an empowering experience.

Ready to get certified? 

Don’t let the fear of a test hold you back. Our instructors are dedicated to your success and will work with you every step of the way to ensure you feel confident and capable.

Contact CPR Classes Near Me today to find a class in your area and start your journey to becoming a lifesaver!

Frequently Asked Questions (FAQ)

Q: Can I retake the CPR test the same day if I fail?

A: In most cases, yes. If you fail the written exam or a specific skill, many instructors will allow you to review the material and re-test immediately or at the end of the class session.

Q: Is there a limit to how many times I can retake the test?

A: Most organizations do not have a hard limit on retakes, but individual training centers may have policies. Usually, if you cannot pass after a couple of attempts, they may suggest you retake the entire course to reinforce your foundational knowledge.

Q: Do I have to pay again if I fail?

A: This depends on the training center’s policy. Some include one free retake in the initial cost, while others may require a small fee for a remedial session. Always ask about the “re-test policy” before booking.

Q: What is the passing score for the CPR written exam?

A: While it varies, the American Heart Association generally requires a score of 84% or higher, while the Red Cross typically requires 80%.

Q: Can I fail if I am not strong enough to do compressions?

A: You must be able to compress the chest at least 2 inches for an adult. If you struggle with strength, instructors can teach you better body mechanics (like using your body weight rather than just your arms) to help you succeed.

Are You Making These 7 Common CPR Certification Mistakes?

CPR training session with students practicing chest compressions on a first aid mannequin

Getting your CPR certification is one of the most proactive steps you can take to protect your family, coworkers, and community. However, simply showing up to a class doesn’t guarantee you’ll walk away with the skills—or the confidence—to save a life. Many students fall into the same traps, leading to ineffective techniques or even failing their practical exams.

At CPR Classes Near Me, we’ve seen thousands of students walk through our doors. We’ve noticed a pattern in where people struggle most. Whether you are a first-timer or a seasoned pro looking for a renewal, understanding these common pitfalls is the first step toward mastery.

In this guide, we’ll dive deep into the most frequent CPR certification mistakes and, more importantly, how you can avoid them to ensure you’re ready when the clock is ticking.

Why is proper hand placement so important?

One of the most frequent errors we see in the classroom is incorrect hand placement. It sounds simple—place your hands in the center of the chest—but in the heat of a timed assessment, many students drift.

Some students place their hands too high, near the neck, or too low, over the stomach (xiphoid process). Placing hands too low can cause internal injuries, such as a fractured breastbone or damage to the liver, rather than effectively pumping the heart.

To avoid this:

  • Locate the “Nipple Line”: For an adult, the center of the chest between the nipples is your target.
  • Use the Heel of Your Hand: Only the heel of your bottom hand should touch the chest. Interlace your fingers and pull them upward so they don’t press against the ribs.
  • Lock Your Elbows: Keep your arms straight and your shoulders directly over your hands. This allows you to use your body weight rather than just your arm strength.

Are your compressions deep enough to save a life?

“Push harder” is the most common phrase heard in a CPR class. It is human nature to be afraid of hurting the person you are trying to help. Students often perform “shallow” compressions because they are worried about breaking ribs.

However, if you don’t compress the chest at least 2 inches for an adult, the blood simply won’t reach the brain. During certification, manikins are designed with internal “clickers” or lights to tell you if you’ve hit the right depth. If you don’t hear that click, you aren’t doing effective CPR.

How to get it right:

  1. Trust the Manikin: Use the practice time to find the “sweet spot” where the click occurs.
  2. Accept the Risk: Understand that ribs may crack during real CPR, and that is a secondary concern compared to a stopped heart.
  3. Lean Into It: Use your upper body weight to drive the compression. If you find yourself getting tired quickly, you’re likely using only your arms.

Is your compression rate too fast or too slow?

Timing is everything. If you go too slow, you won’t maintain enough blood pressure to keep the brain alive. If you go too fast (over 120 beats per minute), the heart doesn’t have enough time to refill with blood between squeezes.

Many students get nervous and start pumping as fast as they can, which is a recipe for exhaustion and ineffective resuscitation.

To stay on track:

  • Think of the Music: The classic song “Stayin’ Alive” by the Bee Gees is 103 beats per minute—the perfect pace. Other options include “Dancing Queen” by ABBA or “Just Dance” by Lady Gaga.
  • Count Out Loud: “One, two, three, four…” Counting out loud helps you maintain a steady rhythm and keeps your breathing regulated.
  • Practice with a Metronome: Many modern CPR classes use metronomes or apps to help students internalize the 100–120 BPM rhythm.

Do you forget to let the chest recoil?

This is the “silent killer” of effective CPR. Recoil is the act of letting the chest come all the way back up to its neutral position after a compression.

Many students “lean” on the chest. This means they never fully release the pressure between compressions. If the chest doesn’t fully recoil, the heart can’t refill with blood. It’s like trying to pump a half-empty bellows—you’re working hard, but very little is happening.

How to avoid leaning:

  • Lighten the Load: After the downward push, make sure your weight is completely off the manikin, though your hands should remain in contact with the skin so you don’t lose your placement.
  • Think “Up and Down”: Focus as much on the “up” motion as you do on the “down” motion.
  • Check Your Posture: If you are leaning too far forward, you’ll naturally keep weight on the chest. Ensure your shoulders are directly over your hands, not in front of them.

Are you over-inflating the lungs during rescue breaths?

While many layperson classes focus on “Hands-Only CPR,” most certification levels still require rescue breaths. A common mistake is blowing too much air or blowing too hard into the victim.

Over-inflating the lungs can cause air to enter the stomach (gastric inflation). This often leads to vomiting, which can block the airway and create a much messier, more dangerous situation.

To give perfect breaths:

  • Watch the Chest: You only need to provide enough air to see the chest visibly rise. As soon as it starts to lift, stop blowing.
  • One Second Each: Each breath should last about one second.
  • Tilt the Head: Ensure you are using the “head-tilt, chin-lift” maneuver to open the airway properly. If the airway isn’t open, the air won’t go in no matter how hard you blow.

Why do students hesitate to use an AED?

In a certification class, the Automated External Defibrillator (AED) is often the part that makes students the most nervous. They worry about “zapping” someone who doesn’t need it or getting the pads in the wrong place.

The truth is, an AED is designed to be foolproof. The biggest mistake is delaying its use. Every minute that passes without a shock (if one is needed) decreases the chance of survival by about 10%.

To master the AED:

  1. Turn it on immediately: As soon as the device arrives, power it up. It will talk you through the rest of the steps.
  2. Follow the pictures: The pads have clear diagrams showing exactly where to place them.
  3. Clear the area: Ensure no one is touching the person when the AED is analyzing the rhythm or delivering a shock.

Is your certification actually valid?

Believe it or not, one of the biggest “mistakes” happens before you even step into a classroom: choosing the wrong course. There are many “online-only” certifications that claim to be valid but are not accepted by employers or OSHA because they lack a hands-on skills assessment.

If you need a certification for work—whether you are a teacher, a construction worker, or a coach—you must ensure the course includes an in-person component with a certified instructor.

How to choose correctly:

  • Check Accreditation: Look for courses backed by the American Heart Association (AHA) or the American Red Cross.
  • Avoid “Instant” Online Certificates: If there is no manikin involved, your employer likely won’t accept it.
  • Verify the Type: Ensure you are taking a “Provider” level course if required for your job, rather than just a general awareness class.

How can you summarize these common errors?

To ensure you are fully prepared, it is helpful to look at these mistakes as a checklist for your next practice session. Avoiding these specific errors will significantly improve your chances of passing your exam and saving a life.

  • Hand Placement: Instead of drifting toward the ribs or neck, keep your hands centered between the nipples to avoid internal injury.
  • Compression Depth: Don’t be afraid to push. You must reach at least 2 inches to circulate blood; use the manikin’s feedback lights or clicks as your guide.
  • Rhythm and Pace: Avoid the urge to rush. Stay between 100 and 120 beats per minute by using a song or metronome to guide your speed.
  • The Recoil Phase: Remember that the heart fills when you let go. Never lean on the chest; allow it to return to its natural height after every push.
  • Ventilation Volume: Don’t over-inflate. Stop your rescue breath the moment you see the chest rise to prevent stomach inflation and vomiting.
  • AED Speed: Never wait to use an AED. The moment it is available, turn it on and let the voice prompts lead the way.
  • Course Choice: Avoid the “online only” trap. Ensure your certification includes an in-person skills check to meet workplace requirements.

Conclusion

Mastering CPR isn’t about being a medical genius; it’s about muscle memory, composure, and following the most up-to-date guidelines. By being aware of these common certification mistakes—like leaning on the chest or pushing too shallowly—you can focus your training on the techniques that actually save lives.

When you train with CPR Classes Near Me, our experienced instructors are dedicated to catching these mistakes early. We provide the hands-on feedback you need to feel confident, not just during your test, but in a real-world emergency. Don’t wait until a crisis happens to realize your technique is off.

Ready to get certified the right way? Contact CPR Classes Near Me today to find a local, accredited class that fits your schedule!

Frequently Asked Questions (FAQ)

Can I fail a CPR certification class?

Yes, it is possible to fail if you cannot demonstrate the physical skills required by the certifying body. This usually involves failing to reach the correct compression depth, rate, or failing to use the AED safely. However, a good instructor will work with you during the practice session to ensure you are ready before the final test.

Do I have to do mouth-to-mouth during the test?

In most certified “Healthcare Provider” or “Professional Rescuer” courses, rescue breaths are required. However, many “Heartsaver” or layperson courses focus on “Hands-Only” CPR. Most classes will provide a pocket mask or a barrier device so you are never in direct contact with the manikin’s mouth.

What happens if I break a rib during CPR?

In a real-life emergency, breaking a rib is a common side effect of high-quality CPR. The priority is to circulate blood to the brain. Most “Good Samaritan” laws protect rescuers from liability for such injuries during life-saving attempts. In a certification class, you practice on manikins to learn the right amount of force to use.

How often do I need to renew my certification?

Most CPR certifications are valid for two years. Because guidelines are updated periodically and physical skills can degrade over time, you must take a renewal course every 24 months to remain “current.”

Are online-only CPR certifications legitimate?

While online courses provide great theoretical knowledge, most employers and regulatory bodies (like OSHA) do not recognize “online-only” certifications. To be fully certified, you almost always need a “Blended Learning” approach where you complete the theory online but perform the physical skills in front of a certified instructor.