
What Parents Learn in an Infant CPR Class: Essential Life-Saving Skills for Every Caregiver
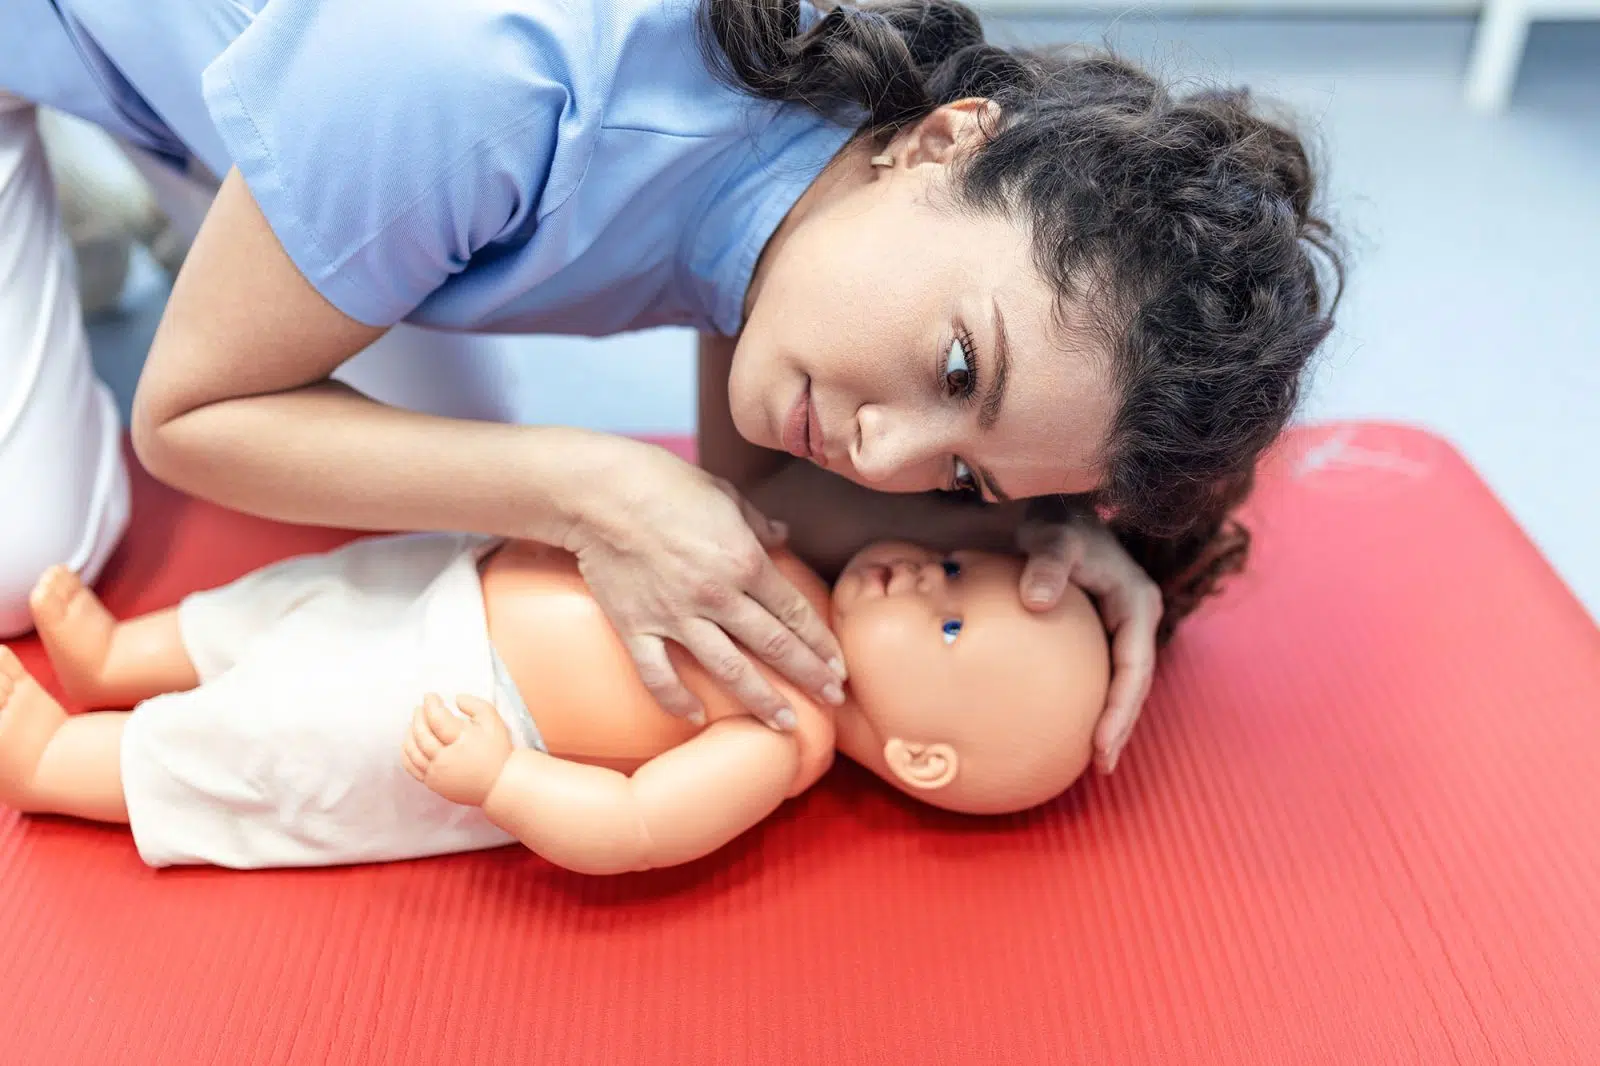
Bringing a new baby home is one of life’s most rewarding experiences, but it also brings a heightened sense of responsibility. While childproofing your home with outlet covers and cabinet locks is standard practice, preparing for unexpected medical emergencies is just as vital.
Enrolling in an infant CPR class gives parents, grandparents, and childcare providers the physical skills and confidence needed to act during a crisis. Taking a formal training course transforms hesitation into structured action. You leave knowing how to spot critical warning signs, perform life-saving physical interventions, and protect your baby until emergency medical personnel arrive.
What Is the Difference Between Adult and Infant CPR?
Infant CPR differs significantly from adult CPR because a baby’s body is far more delicate, and their medical emergencies stem from different root causes. While adult cardiac events usually result from primary heart conditions, infants are far more likely to experience cardiac arrest secondary to severe respiratory distress or choking.
During an infant CPR course, instructors walk you through these critical physical and procedural differences so you can deliver care safely:
- Compression Technique: Adult CPR requires two hands pressing at least 2 inches deep into the chest. For an infant under 12 months, you use two fingers placed in the center of the chest just below the nipple line, pressing about 1.5 inches deep.
- Breathing Volume: Adult lungs require deep rescue breaths. An infant’s lungs are tiny, meaning you deliver gentle puffs of air from your cheeks rather than deep exhalations from your lungs.
- Airway Positioning: Tilting an adult’s head far back opens their airway. Overextending an infant’s neck can flatten their soft trachea and block airflow completely. You learn to tilt an infant’s head into a neutral “sniffing” position.
- Mouth Seal Area: When giving rescue breaths to an adult, you pinch their nose and cover their mouth. With an infant, your mouth must cover both their tiny nose and mouth simultaneously to form an airtight seal.
How Do You Recognize an Infant Medical Emergency?
Recognizing when a baby needs immediate life-saving assistance is one of the most critical takeaways from a professional course. Infants cannot articulate what is wrong, and their physical distress signals look very different from those of older children or adults.
In your class, experienced instructors teach you how to evaluate an infant using simple visual and physical checks:
- Unresponsiveness: You learn to tap the bottom of the baby’s foot firmly and call their name loudly. If there is no physical movement, eye tracking, or vocal response, immediate intervention is required.
- Abnormal Breathing Patterns: Instructors teach you how to spot silent gasping, abnormally rapid shallow breathing, chest retractions (where the skin pulls tightly around the ribs), or a complete absence of breath.
- Color Changes: A sudden pale, bluish, or grayish tinge around the lips, tongue, or nail beds indicates dangerous oxygen deprivation.
- Sudden Muscle Limpness: A baby who suddenly loses muscle tone and becomes completely limp requires instant emergency evaluation and CPR.
Learning to identify these subtle indicators cuts down on lost time when seconds count most.
What Are the Steps for Performing Infant CPR?
Performing CPR on a baby can feel overwhelming to think about, but hands-on practice makes the process second nature. In an infant CPR class, you practice the precise ratio, rhythm, and depth of resuscitation on specialized training mannequins under direct instructor guidance.
Here is the step-by-step cycle of care taught during training:
- Check the Scene and the Baby: Ensure your immediate surroundings are safe. Tap the bottom of the baby’s foot and check for breathing for no more than 10 seconds.
- Call for Emergency Services: If someone is with you, direct them to call 911 immediately and retrieve an Automated External Defibrillator (AED). If you are alone with an unresponsive infant, deliver 2 minutes of CPR first before stopping to call 911 yourself.
- Deliver 30 Chest Compressions: Place the baby on a firm, flat surface like the floor or a table. Position two fingers in the center of the chest, just below the nipple line. Press down smoothly 30 times at a rate of 100 to 120 compressions per minute.
- Give 2 Gentle Rescue Breaths: Open the airway to a neutral position. Cover the baby’s mouth and nose with your mouth and blow gently for 1 second, watching for the chest to rise. Pause briefly and deliver a second breath.
- Repeat the Cycle: Continue the sequence of 30 compressions followed by 2 rescue breaths until the infant shows signs of movement, emergency responders take over, or an AED is ready to use.
How Do You Dislodge an Object from a Choking Infant?
Choking is one of the leading causes of accidental injury in infants as they begin exploring toys and starting solid foods. A choking emergency requires immediate physical intervention, but traditional abdominal thrusts (the Heimlich maneuver) can cause severe internal damage to a baby’s developing organs.
Your instructor will guide you through the safe, proven protocol for clearing a blocked infant airway:
- Identify a Complete Blockage: A baby who is coughing loudly or crying still has active airflow. If they are silent, unable to cry, turning blue, or making silent choking motions, their airway is completely blocked.
- Position the Infant Safely: Rest the baby face-down along your forearm, supporting their jaw and head securely with your hand. Keep their head lower than their chest so gravity helps remove the object. Rest your forearm against your thigh for stability.
- Deliver 5 Back Blows: Using the heel of your free hand, deliver five firm, distinct back blows directly between the baby’s shoulder blades.
- Deliver 5 Chest Thrusts: If the object does not dislodge, flip the baby face-up onto your opposite forearm, keeping their head lower than their torso. Place two fingers on the center of the chest and deliver five quick chest thrusts.
- Repeat Until Clear: Alternate between five back blows and five chest thrusts until the object is expelled or the baby becomes unresponsive. If the baby loses consciousness, transition immediately into standard infant CPR compressions.
Practicing this physical sequence on weighted mannequins builds muscle memory so you can act decisively if a choking incident occurs at home.
How Is an AED Used Safely on an Infant?
Many parents are surprised to learn that Automated External Defibrillators (AEDs) can be safely used on infants under one year of age. Modern AEDs feature built-in safety mechanisms and audio instructions that guide you through every step.
During your class, you will practice using AED trainer units to master these core procedures:
- Use Pediatric Attenuator Pads: Infant AED pads (or pediatric mode settings) reduce the electrical energy to a safe voltage level for a baby’s heart.
- Position Pads Correctly: Because an infant’s chest area is small, placing standard pads side-by-side can cause them to touch and arc. Instructors demonstrate how to place one pad in the center of the baby’s chest and the second pad on the center of the baby’s back.
- Follow Audio Prompts: The AED automatically analyzes the baby’s heart rhythm. The device clearly tells you when to stand clear for a shock and when to resume chest compressions.
What Additional Baby First Aid Skills Are Covered?
Comprehensive parent courses cover more than just cardiac emergencies. When you choose a class that combines CPR with basic pediatric first aid, you gain valuable skills for handling everyday bumps, cuts, and sudden illnesses.
You will learn practical home safety skills for:
- High Fevers and Seizures: Managing febrile seizures safely, keeping the infant secure during an episode, and knowing when to call 911.
- Allergic Reactions: Identifying symptoms of severe allergic reactions, including sudden hives, facial swelling, or breathing difficulty caused by food or insect stings.
- Burns and Scalds: Treating household burns or hot liquid spills immediately with cool running water—avoiding outdated remedies like ice, oil, or butter.
- Head Injuries and Falls: Evaluating your baby after a fall from a couch, changing table, or crib to spot signs of a potential concussion.
- Bleeding Control: Applying safe, direct pressure to minor cuts or deeper wounds using sterile gauze.
Why Is Hands-On Practice Vital for Parents?
Reading articles or watching quick video clips online offers helpful background information, but it cannot replicate the value of real physical practice. Knowing theoretically how deep to press is entirely different from feeling the exact resistance of a calibrated training mannequin.
In-person training with CPR Classes Near Me provides distinct advantages over digital-only tutorials:
- Immediate Instructor Corrections: Certified instructors monitor your finger placement, compression speed, and breath volume, correcting errors immediately so you develop accurate muscle memory.
- Increased Confidence: Practicing emergency physical movements lowers your anxiety. Real hands-on repetition transforms fear into calm execution.
- Official AHA-Aligned Certification: Completing your course yields an official American Heart Association aligned eCard delivered the very same day. This credential satisfies safety standards for adoption, foster care, daycare operations, and school employment.
- Personalized Q&A: Instructors answer your specific questions regarding home infant safety, safe sleep habits, baby-led weaning risks, and organizing your nursery first aid kit.
Prepare for the Unexpected with Professional CPR Training
Protecting your growing baby starts with being prepared for any situation. Enrolling in an infant CPR class arms you with practical techniques, critical safety knowledge, and personal confidence. From managing high-stress choking events to performing proper chest compressions, formal instruction ensures you are ready when your baby needs you most.
At CPR Classes Near Me, our certified instructors deliver clear, encouraging, and comprehensive instruction tailored for parents, guardians, and childcare providers. With flexible scheduling, small class sizes, and same-day certification cards, securing your family’s safety is straightforward and stress-free.
Contact CPR Classes Near Me today to book your infant CPR class and gain life-saving confidence!
Frequently Asked Questions
Can I take an infant CPR class while pregnant?
Yes, taking an infant CPR class during your second or third trimester is highly recommended. Completing your training before your baby arrives ensures you are prepared from day one, without needing to manage a newborn’s nap schedule.
How long does an infant CPR certification last?
An official infant CPR certification card remains valid for two years from the date of completion. Refreshing your skills every two years helps keep your emergency knowledge and physical technique sharp.
Is infant CPR taught in a general CPR class?
Comprehensive CPR courses cover adults, children, and infants within a single session. However, you should always confirm that your chosen class includes dedicated hands-on practice with specialized infant mannequins.
What is the age range for infant CPR techniques?
Infant CPR protocols apply to babies from birth up to 12 months (1 year of age). Once a child turns one, standard child CPR techniques using a one-hand compression method are applied.
How hard should I press during infant chest compressions?
Compress an infant’s chest to a depth of approximately 1.5 inches, which is roughly one-third the total depth of their chest cavity. Using two fingers allows you to deliver accurate depth without applying excessive force to their ribs.
Will I receive my CPR card on the same day as my class?
Yes, when you complete your course with CPR Classes Near Me, your official American Heart Association aligned BLS CPR eCard is emailed directly to you on the very same day.