When Not to Perform CPR: Critical Signs to Know
CPR Archives

No Comments
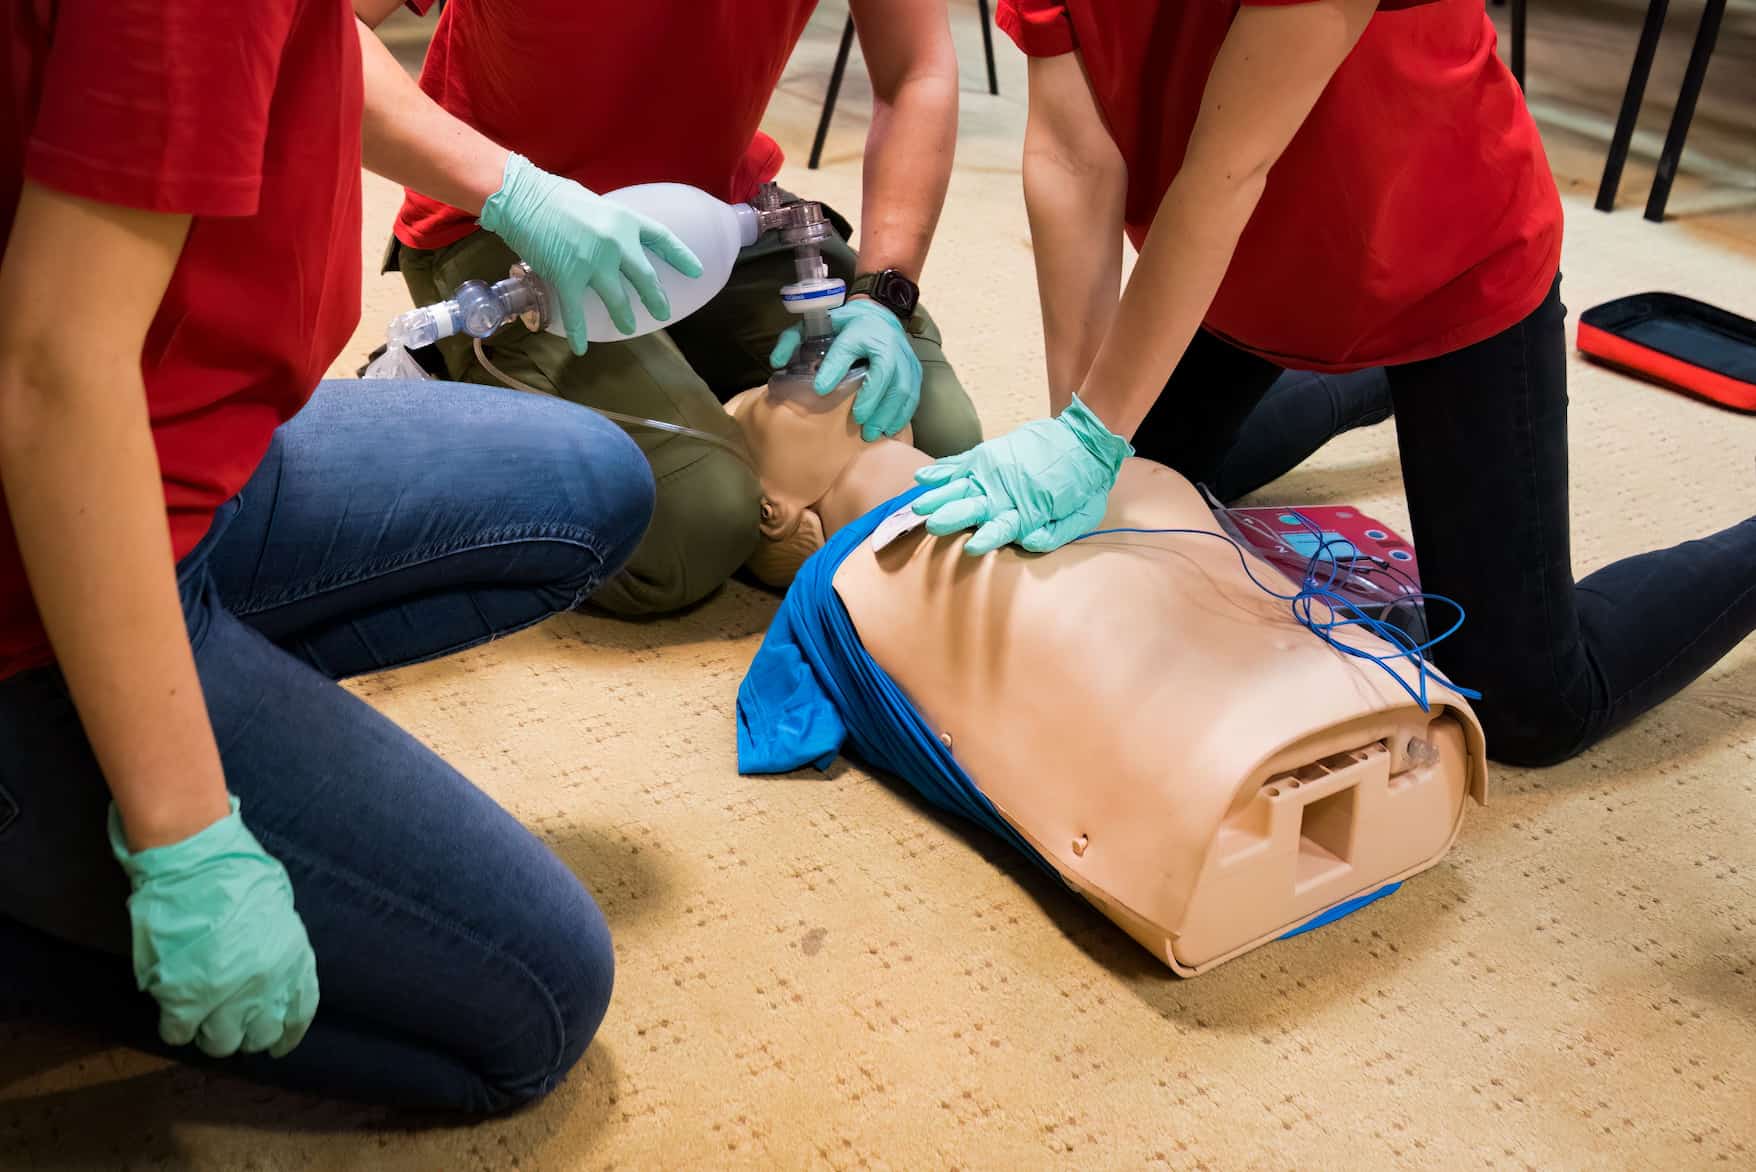
Students performing CPR and ventilation on a training manikin in class

Cardiopulmonary Resuscitation (CPR) is widely recognized as a miraculous, life-saving technique. It is the bridge between a cardiac event and professional medical care. At CPR Classes Near Me, we spend a significant amount of time teaching you how to perform high-quality compressions and rescue breaths. However, an equally important part of your education involves knowing when not to act.

While the instinct to help is noble, there are specific circumstances—medical, legal, and environmental—where starting CPR is either futile, dangerous to the rescuer, or legally prohibited. Understanding these signs ensures that you are acting effectively, ethically, and safely.

This guide explores the critical decision-making process regarding when to withhold or stop resuscitation efforts.

Is the Scene Safe for the Rescuer?

The very first rule of any emergency response is widely known by the acronym “Scene Safety.” Before you even check the victim for responsiveness, you must assess the environment. If the scene is unsafe, you must not perform CPR.

This rule exists for a simple reason: You cannot help the victim if you become a victim yourself.

If you rush into a dangerous situation, you risk creating a scenario where Emergency Medical Services (EMS) have two patients to treat instead of one. Common hazards that necessitate withholding CPR include:

  • Fire or Smoke: Entering a burning building or a smoke-filled room without protective gear is deadly. Smoke inhalation can render a rescuer unconscious in seconds.
  • Toxic Fumes or Chemicals: If a person has collapsed due to a chemical spill or gas leak (like carbon monoxide), the air around them is poison. Unless you can move them to fresh air without endangering yourself, you cannot start care.
  • Traffic: Highway accidents are notoriously dangerous. If a victim is lying in a lane of traffic and cannot be moved, attempting CPR on the road puts you at risk of being struck by a vehicle.
  • Electrical Hazards: If a victim was electrocuted and is still in contact with the power source (like a downed power line), touching them will electrocute you as well.
  • Structural Instability: After earthquakes or explosions, entering a collapsing building is a “no-go” criteria.

If the scene is unsafe, call 911 immediately and wait for professionals who have the equipment to extract the victim.

What Are the Signs of Obvious Death?

CPR is designed to circulate oxygenated blood for a person whose heart has stopped but who is physically intact enough to potentially recover. There are physiological states where death is irreversible. In the medical community, these are known as “signs of life incompatible.”

If you encounter a victim exhibiting the following signs, CPR will not be effective, and you are not required to start it.

What Is Rigor Mortis?

Rigor mortis is the stiffening of the joints and muscles of a body a few hours after death, usually lasting from one to four days. It occurs because of chemical changes in the muscles.

  • How to identify it: If you try to move the victim’s arm to check for a pulse or position the head for rescue breaths, and the limbs are rigid and stiff (like a mannequin), rigor mortis has set in.
  • The Verdict: Do not perform CPR. The heart has been stopped for too long for resuscitation to work.

What Is Livor Mortis (Lividity)?

Livor mortis, or post-mortem lividity, is the pooling of blood in the lower portion of the body due to gravity. When the heart stops pumping, blood settles.

  • How to identify it: You will see purplish-red discoloration on the skin closest to the ground. For example, if the victim is lying on their back, their back and buttocks will look bruised or purple, while the top of the body is pale.
  • The Verdict: This indicates the person has been deceased for a significant amount of time. CPR should not be performed.

What Is Decomposition?

Decomposition is the process where organic substances are broken down into simpler organic matter. This is a definitive sign of death.

  • How to identify it: Signs include bloating, skin slippage, and a strong, distinctive odor of decay.
  • The Verdict: Do not perform CPR.

What Are Fatal Traumatic Injuries?

Some injuries are simply incompatible with life. Even if you could manually pump the heart, the body cannot sustain function. These include:

  • Decapitation: Separation of the head from the body.
  • Transection: The body has been cut in half (e.g., a severe train accident).
  • Incineration: The body has been burned to the point of charring over the majority of the surface area.
  • Evisceration: Total removal of vital organs (heart/lungs) from the chest cavity.

How Do DNR Orders Affect CPR?

One of the most complex areas for a lay rescuer is the Do Not Resuscitate (DNR) order. A DNR is a legal medical order written by a doctor. It instructs health care providers not to perform cardiopulmonary resuscitation if a patient’s breathing stops or if the patient’s heart stops beating.

Valid Forms of DNR Identification

For a layperson or professional to honor a DNR, it must be immediately available and clearly valid. You cannot take a bystander’s word that “he has a DNR.” You must see the proof. Valid forms often include:

  • Hospital or State Documents: Often a bright-colored form (Pink or Yellow, depending on the state), such as a POLST (Physician Orders for Life-Sustaining Treatment) form, signed by a physician.
  • Medical Jewelry: A bracelet or necklace specifically engraved with “Do Not Resuscitate” or “DNR,” often accompanied by a medical emblem.

The “When in Doubt” Rule

If you are a Good Samaritan rescuer and you are unsure if a document is valid, or if family members are arguing about the existence of a DNR, the standard protocol is to perform CPR.

It is better to err on the side of preserving life. Courts and medical boards generally protect rescuers who perform CPR in good faith because they did not know a valid DNR existed. However, if a valid DNR is presented to you clearly, you should respect the patient’s end-of-life wishes and withhold CPR.

What If the Victim Starts Breathing?

The goal of CPR is the Return of Spontaneous Circulation (ROSC). This means the heart has started beating on its own, and the victim is breathing effectively.

You should stop CPR if the victim shows obvious signs of life, which include:

  • Regular Breathing: Not gasping, but rising and falling of the chest with regular air exchange.
  • Purposeful Movement: The victim moves their arms or legs, pushes you away, or tries to sit up.
  • Opening Eyes/Speaking: The victim regains consciousness.

Important Note on Agonal Breathing:

Do not confuse “agonal gasps” with regular breathing. Agonal gasps are reflexive, snoring-like gasps that happen shortly after the heart stops. They are not effective breathing. If the victim is only gasping, you must continue CPR. Only stop if breathing becomes regular and rhythmic.

When Can I Stop Performing CPR?

Once you have started CPR, you are generally committed to continuing until a specific event occurs. You cannot simply stop because you are bored or assume it isn’t working. However, there are valid reasons to cease efforts.

1. EMS Arrival and Transfer of Care

You stop when a higher level of medical care arrives and tells you to stop. This could be paramedics, EMTs, or police officers with AEDs. They will usually tap you on the shoulder and say, “We have it from here.” Do not stop until they are in position to take over immediately.

2. Physical Exhaustion

CPR is physically grueling. Effective chest compressions require 100 to 120 compressions per minute at a depth of 2 inches. If you are the only rescuer, you will burn out quickly.

If you reach a point of total physical exhaustion where you can no longer continue, you are permitted to stop. Continuing with ineffective, shallow compressions is not helpful, and collapsing yourself creates a new medical emergency. If bystanders are available, always try to switch off every 2 minutes to avoid this scenario.

3. The Scene Becomes Unsafe

As mentioned earlier, safety is fluid. A scene that was safe five minutes ago might change. For example:

  • A building fire spreads to your room.
  • A structure begins to collapse.
  • Gunfire erupts nearby.

If the environment turns hostile, you must prioritize your life and evacuate, even if that means leaving the victim behind.

Why Is Futility a Factor?

In a hospital setting, doctors weigh the concept of medical futility—whether a treatment has any chance of benefiting the patient. In a layperson setting, futility is usually determined by the length of time CPR has been performed without a result, combined with the environment.

  • Wilderness Context: If you are hiking in a remote area, hours from help, and you perform CPR for 30 minutes to an hour with no response, wilderness first aid protocols often provide guidelines for stopping, as survival rates plummet without advanced life support.
  • Cold Water Drowning: Conversely, “you aren’t dead until you are warm and dead.” Victims of cold water drowning, especially children, have survived after prolonged CPR. In cold environments, do not stop CPR based on time alone; wait for EMS.

The Role of Good Samaritan Laws

Many people hesitate to act—or hesitate to stop—out of fear of legal repercussions. It is vital to understand that Good Samaritan Laws exist in all 50 states to protect lay responders.

These laws generally provide immunity from civil liability for individuals who voluntarily provide emergency care, provided that:

  1. The assistance is given in an emergency.
  2. The rescuer acts in good faith and without expectation of compensation.
  3. The rescuer is not grossly negligent.

Knowing when not to perform CPR (such as in cases of rigor mortis or unsafe scenes) acts as a further protection. It demonstrates that you assessed the situation logically and acted reasonably.

Conclusion

CPR is a powerful tool in the chain of survival, but it is not a universal remedy for every situation. Being a trained rescuer means possessing the judgment to know when to act and when to step back.

Whether it is identifying the signs of obvious death like rigor mortis, respecting a valid DNR order, or prioritizing your own safety in a hazardous environment, these decisions are crucial. They ensure that resources are used effectively and that the dignity of the victim is respected.

The best way to feel confident in these high-pressure decisions is through hands-on training. A certification course doesn’t just teach you the physical skills; it walks you through the scenarios, the legalities, and the assessments required to be a true lifesaver.Are you ready to learn the skills to save a life? Don’t wait for an emergency to happen. Contact CPR Classes Near Me today and get certified with the best instructors in the industry.
Step-by-Step Guide: Administering CPR in Real Life

CPR Archives

No Comments
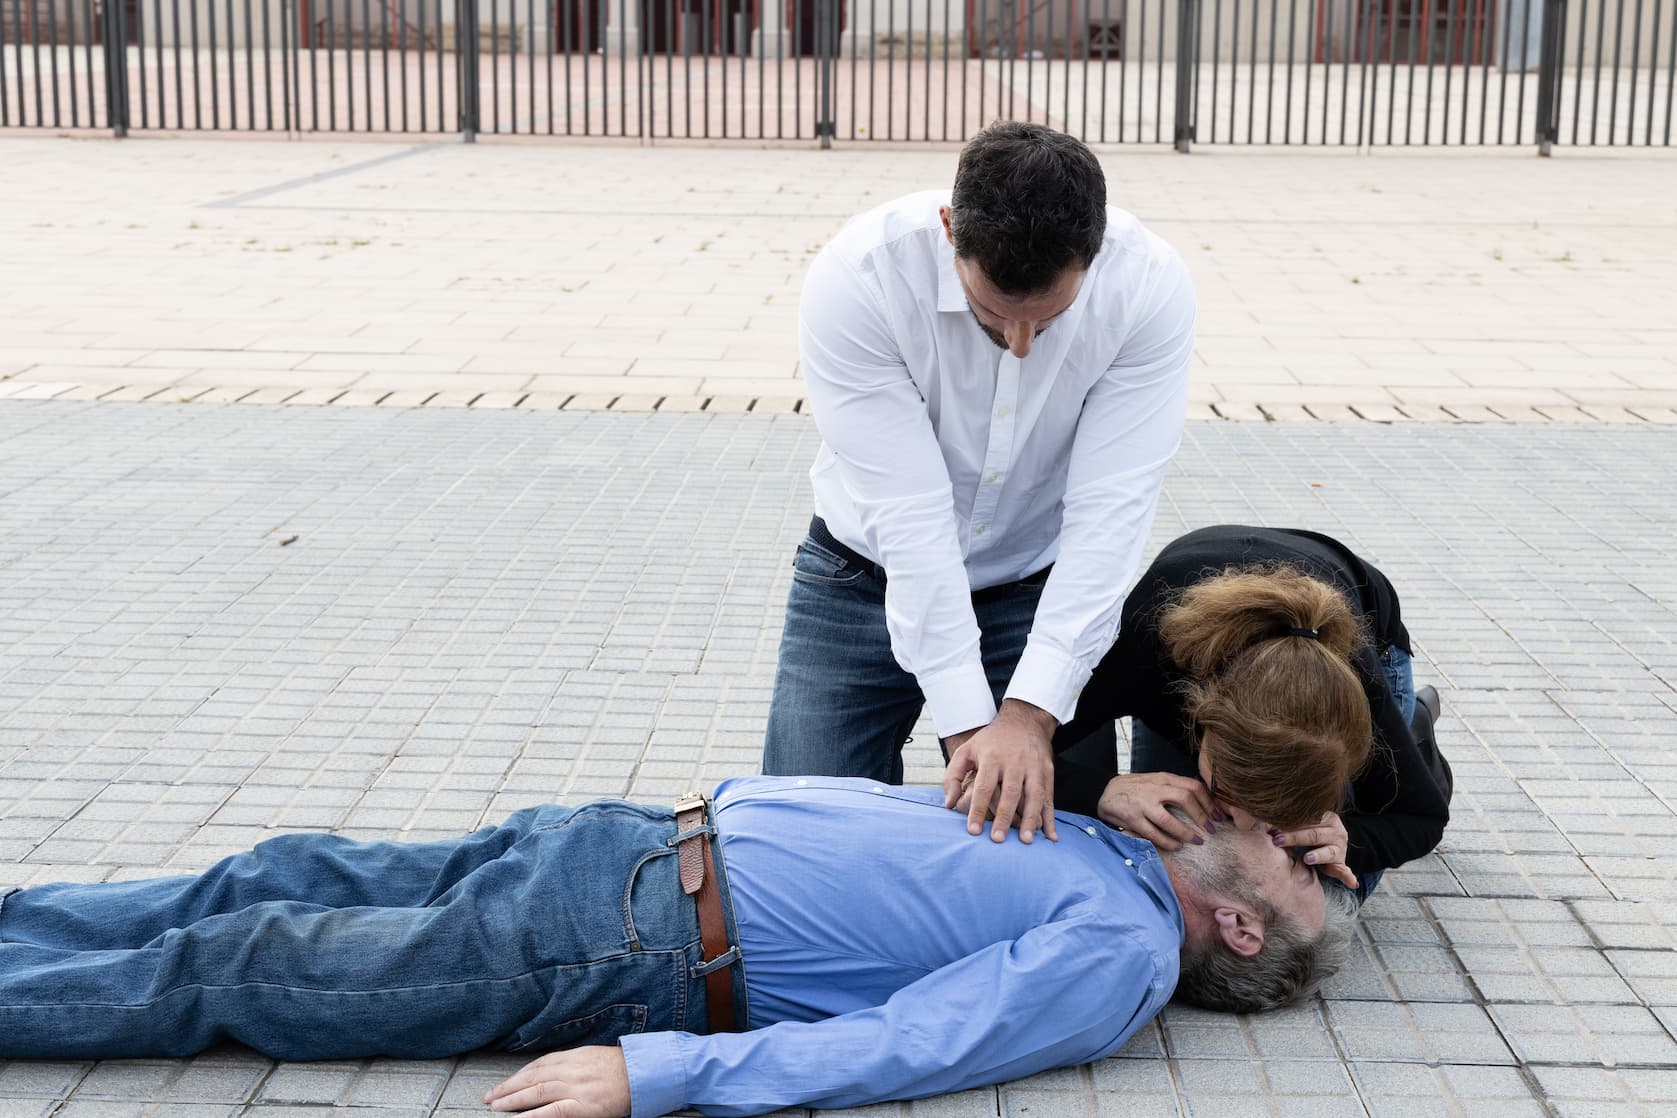
Two bystanders giving CPR and rescue breaths to a man on the ground under Good Samaritan aid

Imagine you are at a grocery store, a park, or even your own living room. Suddenly, someone collapses. They aren’t moving. They aren’t responding. In that split second, the world seems to stop. This is the reality of Sudden Cardiac Arrest (SCA), and it happens nearly 1,000 times every day in the United States alone.

The difference between a tragedy and a survival story often comes down to one person: a bystander who decides to act.

Reading about Cardiopulmonary Resuscitation (CPR) in a textbook is one thing, but applying it in a real-life scenario requires confidence and clear knowledge. When adrenaline is high, you need a simple, actionable plan. This guide breaks down the process of administering CPR into manageable steps, focusing on what it actually feels like and what you need to prioritize to save a life.

Why is immediate action so critical?

Time is the enemy of cardiac arrest. When the heart stops pumping, blood flow to the brain ceases immediately. Brain cells begin to die within minutes.

  • 0–4 Minutes: Brain damage is unlikely.
  • 4–6 Minutes: Brain damage is possible.
  • 6–10 Minutes: Brain damage is probable.
  • Over 10 Minutes: Survival is rare.

The average ambulance response time can range from 7 to 14 minutes depending on your location. If you wait for professionals to arrive without acting, the window for survival may close. By administering CPR, you are essentially acting as the victim’s heart, manually pumping oxygenated blood to the brain and organs until advanced help arrives.

How do I assess the scene and the victim?

Before you rush in, you must ensure you don’t become a second victim. Real-life emergencies are chaotic. There could be traffic, electrical wires, or broken glass.

1. Check the Scene:

Is it safe? If the environment is dangerous (e.g., a fire or a busy highway), stay back and call 911. If it is safe, approach the victim.

2. Check for Responsiveness:

Tap the victim on the shoulder firmly and shout, “Are you okay?” Do this loudly. You are looking for any movement, groaning, or eye-opening.

3. Check for Breathing:

Scan the chest for rise and fall. This should take no longer than 10 seconds.

  • Note: In the first few minutes of cardiac arrest, a victim may exhibit “agonal gasps.” This looks like snoring, gurgling, or gasping for air. This is not normal breathing. If the person is gasping or not breathing at all, you must begin CPR.

Who do I call first?

If you determine the person is unresponsive and not breathing normally, you must activate the Emergency Response System immediately.

  • If you are alone: Call 911 immediately. Put your phone on speaker mode and lay it on the ground next to the victim’s head. The dispatcher can guide you.
  • If others are around: Point specifically to one person (make eye contact) and say, “You! Call 911 and get an AED!” Being specific breaks the “bystander effect” where everyone assumes someone else is calling.

How do I perform high-quality chest compressions?

This is the core of CPR. In real life, compressions are physically demanding. You may feel ribs crack or pop; this is normal and implies you are pushing hard enough. Do not stop.

Step 1: Positioning

Place the victim on their back on a firm, flat surface. A bed or sofa is too soft and will absorb the force of your compressions. Kneel beside the victim’s chest.

Step 2: Hand Placement

  • Place the heel of one hand in the center of the victim’s chest (on the lower half of the breastbone).
  • Place the heel of your other hand directly on top of the first.
  • Interlock your fingers.

Step 3: Body Mechanics

  • Straighten your arms and lock your elbows.
  • Position your shoulders directly over your hands.
  • Use your upper body weight to push, not just your arm muscles.

Step 4: Push Hard and Fast

  • Depth: Push down at least 2 inches (5 cm).
  • Rate: Push at a rate of 100 to 120 compressions per minute.
  • Recoil: Allow the chest to return to its normal position after each push. This “recoil” pulls blood back into the heart so you can pump it out again.

Pro Tip: To keep the rhythm, push to the beat of “Stayin’ Alive” by the Bee Gees, “Baby Shark,” or “Imperial March” from Star Wars.

What about rescue breaths?

For decades, CPR training emphasized “A-B-C” (Airway, Breathing, Compressions). However, guidelines have shifted.

Hands-Only CPR (Untrained Rescuers)

If you are untrained or uncomfortable giving mouth-to-mouth breaths, perform Hands-Only CPR. This involves continuous chest compressions without stopping for breaths. The victim has enough oxygen in their blood to last several minutes, provided you keep it circulating.

Conventional CPR (Trained Rescuers)

If you are trained and have a barrier device (like a pocket mask), follow the 30:2 ratio:

  1. Perform 30 chest compressions.
  2. Open the airway (Head-Tilt, Chin-Lift maneuver).
  3. Give 2 rescue breaths (each lasting 1 second).
  4. Watch for chest rise.
  5. Resume compressions immediately.

How do I use an AED?

An Automated External Defibrillator (AED) is the only thing that can restart a stopped heart. You will find them in airports, malls, gyms, and offices. They are designed to be used by anyone, even children.

1. Turn it On:

Open the lid or press the “Power” button. Once on, the machine will talk to you.

2. Follow Voice Prompts:

The AED will tell you exactly what to do. It will usually say, “Remove clothing from patient’s chest.” You may need to cut the shirt open (scissors are usually included in the kit).

3. Apply Pads:

Peel the backing off the sticky pads. Place them exactly as shown in the pictures on the pads:

  • Pad 1: Upper right chest (below the collarbone).
  • Pad 2: Lower left chest (below the armpit).

4. Clear the Victim:

The AED will say, “Analyzing heart rhythm. Do not touch the patient.” Stop CPR and step back.

5. Deliver Shock (If Advised):

If the AED detects a shockable rhythm, it will say, “Shock advised. Charging… Push the flashing button.” Ensure no one is touching the victim and press the button.

6. Resume CPR:

Immediately after the shock, or if no shock is advised, the AED will tell you to resume compressions. Do not remove the pads.

When do I stop CPR?

Once you start, do not stop unless one of the following occurs:

  • EMS Arrives: The paramedics physically take over.
  • Signs of Life: The victim begins to wake up, move, or breathe normally.
  • AED Analysis: The machine tells you to pause for analysis.
  • Exhaustion: You are too physically exhausted to continue (if possible, switch with another bystander every 2 minutes to maintain compression quality).
  • Scene Danger: The environment becomes unsafe.

What are the psychological hurdles of Real-Life CPR?

Administering CPR in real life is vastly different from a classroom with a mannequin. It is messy, noisy, and frightening.

  • Fear of Harming the Victim: Many people hesitate because they don’t want to hurt the person. Remember: The victim is already dead. You cannot make their condition worse. A broken rib heals; death does not.
  • The “Gasp”: As mentioned, agonal breathing can be confusing. If you are unsure if they are breathing, assume they are not and start compressions.
  • Physical Exhaustion: Two minutes of CPR feels like an hour. Adrenaline will help, but fatigue sets in fast. This is why involving other bystanders to switch out is helpful.

Why certification matters

While reading this guide provides a mental framework, nothing replaces the muscle memory gained in a hands-on class. In a certification course, you practice the depth of compressions, the timing of breaths, and the operation of an AED simulator.

Being certified gives you the confidence to command a scene. Instead of panicking, you fall back on your training. You become the person who knows what to do when everyone else is frozen.

Conclusion

Sudden Cardiac Arrest can happen to anyone—a parent, a spouse, a coworker, or a child. By learning the steps of assessing the scene, calling 911, and performing high-quality chest compressions, you become a lifeline.

Real-life CPR is intense, but the steps are simple: Call. Push. Shock.

Don’t wait for an emergency to wish you were prepared. Gain the confidence and skills to save a life today.Contact CPR Classes Near Me today and find a course that fits your schedule.

BLS for Healthcare Providers: What’s New in the Latest Guidelines?

CPR Archives

No Comments

In the fast-paced world of healthcare, medicine never stands still. Neither should your training. For nurses, paramedics, and medical staff, Basic Life Support (BLS) is the foundational skill that saves lives when seconds count. The American Heart Association (AHA) typically releases major guideline updates every five years, with the most recent major overhaul occurring in 2020 and focused updates continuing through 2024 and into 2025.

If you are a healthcare provider, “doing it the way you’ve always done it” isn’t just outdated—it could be dangerous. Understanding the nuances of the latest science ensures you provide the highest standard of care. From the new emphasis on recovery to changes in pediatric rescue breathing, here is a comprehensive look at what is new in the latest BLS guidelines.

What is the New “Sixth Link” in the Chain of Survival?

For decades, we learned the Chain of Survival as a five-step process ending with “Post-Cardiac Arrest Care.” However, the latest guidelines have added a crucial sixth link: Recovery.

Why the change? Data showed that survival doesn’t end when a patient is discharged from the hospital. The recovery phase is often where survivors face physical, cognitive, and emotional challenges.

  • Treatment expectations: Providers are now encouraged to plan for long-term multimodality rehabilitation.
  • Holistic view: Recovery includes neurological assessment and support for anxiety or depression, which are common after cardiac arrest.
  • Debriefing: This link also emphasizes the health of the rescuer, encouraging debriefing for healthcare teams to process the event.

This shift transforms cardiac arrest care from a short-term emergency event into a long-term continuum of health.

How Have Opioid Overdose Protocols Changed?

With the opioid epidemic continuing to impact communities nationwide, the AHA has fully integrated opioid-associated emergency care into BLS training. It is no longer a side note; it is a primary algorithm.

The guidelines now feature two distinct algorithms: one for lay rescuers and one for healthcare providers. For providers, the key updates include:

  • Assessment First: If you suspect an overdose, assess breathing and pulse.
  • Respiratory Arrest vs. Cardiac Arrest: If the patient has a pulse but is not breathing normally, provide rescue breaths and administer Naloxone immediately.
  • Don’t Delay CPR: If the patient has no pulse, start CPR immediately. Do not wait for Naloxone to work before starting compressions. Naloxone can be administered while CPR is performed.

This empowers healthcare providers to act decisively in toxicological emergencies, recognizing that hypoxia is the primary killer in these cases.

What are the Updates for Pediatric Rescue Breathing?

One of the most significant technical changes in the latest guidelines involves how we breathe for infants and children. Previously, the rate was slower, but new evidence suggests that children—who have higher metabolic rates—require more aggressive ventilation.

The New Standard:

  • Rescue Breathing (Pulse present): Deliver 1 breath every 2 to 3 seconds (20–30 breaths per minute). This is an increase from the previous 3–5 seconds.
  • Advanced Airway (During CPR): If an endotracheal tube or supraglottic airway is in place, continue compressions without pausing and deliver 1 breath every 2 to 3 seconds.

This change aims to prevent hypoxia, which is the leading cause of pediatric cardiac arrest, ensuring the brain receives adequate oxygenation faster.

Why is “High-Performance Teams” a Focus?

The “Lone Wolf” rescuer is a thing of the past. The latest guidelines place a heavy premium on team dynamics. It is not enough to know how to do CPR; you must know how to communicate while doing it.

Training now emphasizes:

  • Clear Roles: Assigning specific tasks (Compressor, Monitor/Defibrillator, Airway) immediately.
  • Closed-Loop Communication: Repeating orders back to confirm they were heard and understood.
  • Constructive Intervention: If a team member sees compressions slowing down or becoming shallow, they are trained to correct it respectfully and immediately.

This focus on soft skills ensures that technical skills are applied effectively during the chaos of a Code Blue.

Are There Changes to CPR Feedback Technology?

Yes. The days of guessing if your compressions are deep enough are over. The guidelines now strongly recommend the use of real-time audiovisual feedback devices during both training and actual resuscitation events.

  • In Training: Instrument-equipped manikins (like the ones used in our classes) must provide feedback on rate and depth to ensure students develop the correct muscle memory.
  • In Practice: Use of pucks or monitor sensors that indicate if you are hitting the “sweet spot” of 100–120 compressions per minute and 2–2.4 inches of depth.

Data shows that even experienced providers fatigue quickly, causing compression quality to drop. Technology acts as an impartial coach to keep quality high.

What About Maternal Cardiac Arrest?

The latest guidelines have refined the approach to cardiac arrest in pregnant patients, focusing on the concept that the best way to save the fetus is to save the mother.

Key Updates:

  • Left Lateral Uterine Displacement: If the uterus is at or above the umbilicus, manual left uterine displacement is required to relieve pressure on the inferior vena cava and improve blood flow.
  • Perimortem Cesarean Delivery: If there is no return of spontaneous circulation (ROSC) within 4 minutes, providers should prepare for an immediate C-section (aiming for delivery by minute 5). This is performed to improve maternal hemodynamics, not just to save the infant.

Conclusion

Staying certified isn’t just a job requirement; it is a commitment to patient safety. The shift toward a comprehensive Chain of Survival, the aggressive management of pediatric airways, and the integration of opioid protocols show that BLS is an evolving science.

At CPR Classes Near Me, we ensure our curriculum is always aligned with the most current American Heart Association guidelines. When you train with us, you aren’t just getting a card; you’re getting the latest life-saving knowledge.

Ready to update your skills?

Contact CPR Classes Near Me Today!